
| |
| Tram Hub Station | |
| Game | |
| Episode |
Operation: Last Hope |
| Previous Map | |
| Next Map | |
| Enemies | |
| New Misc |
Tram car |
| [Source] | |
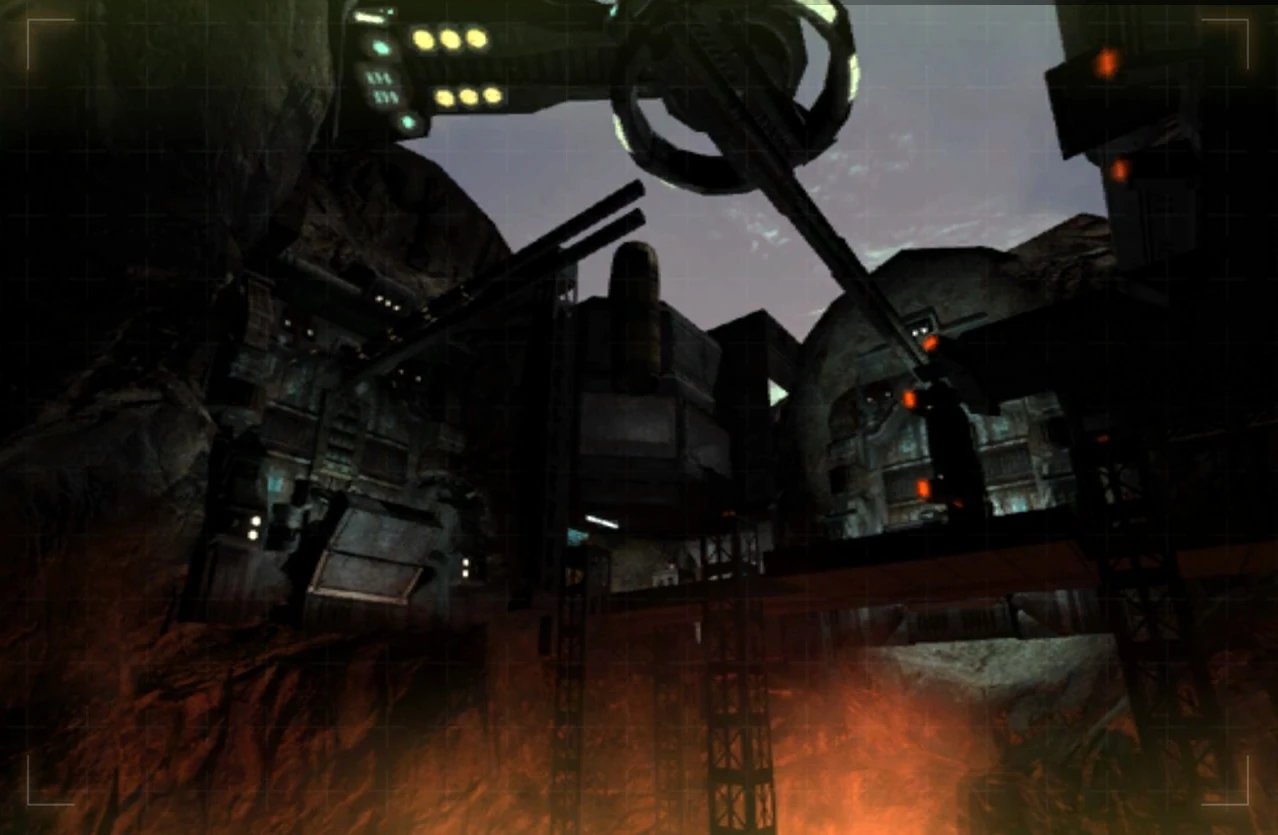
Tram Hub Station is the 23rd level of Quake 4.
After Matthew Kane have activated the first tower for deactivated security connect directly to the Nexus Core. Now, He have taken the elevator downward to the Tram Hub Station. Which will lead to another tower. While Rhodes guarded at the top. Just in case, any of the Strogg try to disable it. At the same time, the human forces are struggling against the Strogg monstrance defense on the area as they beginning to lose. Kane have to activated a tram to go to next tower along the way with the aid of Cortez. He was able to make it through without any difficulty. This is one level that player might get lost often because the routes are quite complex.
Walkthrough
Securing the Below Outer Section of the Tower
Followed from the previous level after activated the Tower that directly link to the Nexus. When almost reach to the floor. Transmission come above for sending help as Strogg overwhelming them in every single way. However, the HQ encouraging to continuing securing as backup coming up to aid them. Implying is you. Once the elevator is reach to the end. Grab all the supplies around you and Health if you get hurt at the previous level and go through the door. Where you quickly greet by the Guard. Take him out and enter it. Where you see in-front the door. Which immediately greeted by Gunner and a bunch of Guards. Take them out and head through the door in-front you. Which is very dark hallway. Once you processing, the light suddenly turn on and be preparing as a pair of Berserker charge at you. Take them out whatever you have and make sure don't let them near you. Once you defeated them. A Light Tank with a bunch of Guards will appeared. Stay frosty and focusing to take them out one at time after taking care of Guards before dealing with the Tank. Once you take them all out. Head through the left door. Where you will find the Black Matter Ammunition. Take it and head through the door, which is open, where you will see only two member of survivor Scorpion squad as they tell you to secure the small bridge as is the only way to go to the station. Once the conversation ended, flyer come by ready to land the Tactical Strogg. Take them out one by one with the Rail Gun are your best option to deal with since they're move slow to target. Once you take them out, grab their gun to refill your ammunition Go through in-front of the door for more goodness. Afterwards, both of the member at the door. Where it need to be activated to open as one of the Technician will upgrade your Lighting Gun into much better form for taking down multiple if it get near, when it is electrocuted. After it upgraded, the door open and you can processing the testing of the weapon as effectively slaughtering all the enemies in one swing as you dealing with Tactical Strogg and Gunner without having any troubles. Once taking out and make sure to grab any supplies fall behind. Go to the Elevator, Where you been greeted by a pair of Berserker as guarded the control room to activated the bridge. Take them out carefully as the area is very tide. Once taking them out. Go through the door and turn the switch to activated the Bridge.
Once activated it, go down where you see in the middle door. Unlocked it as you will be greeted by Gunner from the left and Gladiator from the right. Take them one at the time either with your decision. Which one is the better to take it out first. After you defeat it, The two marine will be guarding over here as the duty for possible more reinforcement. Due to the lack of numbers that need to securing more of location.
Heading to Tram Station
You go on ahead as needed to meet with your squad member after the conversaion from the previous level. Head left, where is the only door open as you will be greeted by Tactical Strogg. Taking them out with Hide and Seek tactics. Once taking them out. Crouch down and grab more supplies if you find it and go to the other side as you can view Cortez riding the Tram to the Station. Keep going forward until you reach to the other side. Head through the door from the right. Beware, when you enter guard will jump on you. Take him out and grab all the supplies from left and right before processing. Once you enter another door as you see the elevator, ride down where you will meet Cortez. Where he will tell you, the track need to be shift to the other position. Otherwise, It cannot carry on the objective. Once the conversation over, he is with you as you lead the way to the control system of the tram. Go through the door on the left there is where you encountering more enemies like you have seen before. Guards, Gunner, Tactical Strogg and Light Tank banned your way. However, your team-mate is not complete invulnerable as you need to keep on eye for it. Otherwise, he died it will be another mission failed. Later, you have taken all those forces. Go through another door, Where gladiator will appeared along with guards on top in-front of the other-side ready to fire his rail gun on you. Hide at the corner and aim at it. Until he is taken out. Once he down, focusing on the remaining forces. Before you activated the bridge to the other-side. Once it taken care with, Go through that door and head up. Make sure to grab any supplies along the way. Head through left, guard will jump on your ass, take him out and refill your health if you running out of it if you injured too much during in the moment against Strogg just now.
Once you enter another door as you arrived at the control room. Where it will switch the track for the destination to the Data Processing Tower. Activate it and it will turn to the other side. However, it was damage as It needed repair before riding. Cortez will tell you, where the repair bot located and he will stay here to guard the tram in case of any Strogg will try to interfere their objective. Now, head to the door at your right. There the ladder will lead you down. Where you just from the door you have passed through to going up the control room. To the left, you find an elevator go down and head through that door. Which is now open, Go in through with the door twice. There you will have a teleport dropper notice you and escape as you crawling down to go forward. Where you find the steel door cover only half. When you reach it. The Dropper will spawn the Grunt be ready to take him as soon as possible. When it tearing off the steel. After dealing with it, a gunner will appear at the top. Take him out and head through the left door and the lights will go out. Be preparing for anything. Once the dropper spawn. A Berserker will come down. Take him out as soon as possible. Which another one will spawn after the following. Once the light come back. A bunch of guards will come through the door that have been close. Take them out and go through it. Be make sure to check any supplies after dealing with them. Once you go through Teleport Dropper will conflict you. Take it out as soon as possible specially with the explosive weaponry as it will dispatch it quickly. Once you deal with it, go through the left door. Where you will find the control to activating the steel plate to transport to the other side by the conveyor to the elevator. Carefully go through the other side as it will kill you instantly if you not be careful. Once you're there, a door in-front will only open once you unlocked after you did it. You will be back where you fought with the Grunt and Gunner. When you chasing down the Teleport Dropper. Just on to the elevator and wait for the steel plate to come. Then it will ride you up to the level. Go through the the in-front to get Health and Armor if you running low of it. When you have it simply just go through the left side. Where bunch of Tactical Strogg are waiting to take you down. Take them out one by one or simple just explosive. But It is not recommend since it the room is small. After taking them out. Go through the left door twice. Where you find the control. Which will release the Repair Bot. Activated it and the thing will repair the Tram Track. Once you hear the transmission from Cortez about the thing is being repaired. Head through the room that you fought as you find an elevator to go down. Where you been through at the starting of the Teleport Dropper and Go through the door again and ride the elevator up and head to the Tram. Where the level ended.
video
 (16 KB)")