![]()
| |
| Maintenance Hangars | |
| Game | |
| Unit | |
| Connected Maps | |
| Next Map | |
| Enemies |
Easy: 60 |
| Secrets |
3 |
| New Misc |
Hidden Mutant |
| [Source] | |
| “ | Recon Zulu Ten, backup unavailable. Proceed to experimental fighter hangar. | ” |
—TCM radio transmission | ||
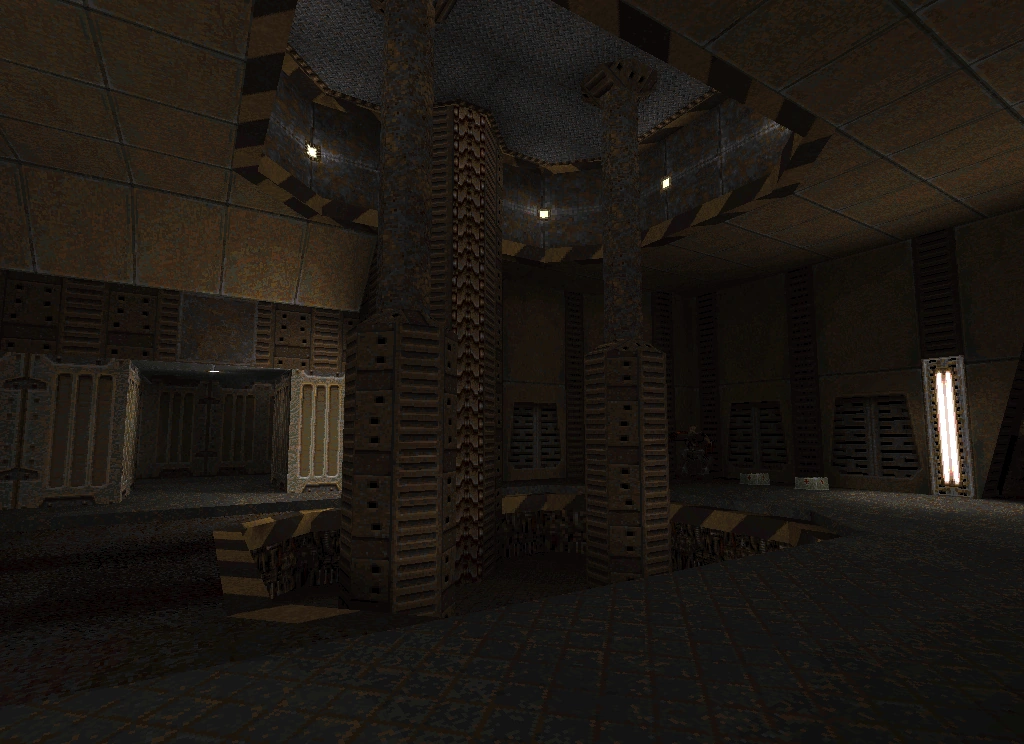
The Maintenance Hangars are the fourth map in the Third Unit of Ground Zero. This is the place where the Strogg conduct much of their fighter repairs and maintenance. The facility consists of numerous machine rooms connected by narrow corridors, and there's also a conveyor system for sending radioactive waste to the nearby disposal facility.
Quick Level Completion
Coming soon...
Walkthrough
Coming soon...
Enemies
| Enemy | Easy | Medium | Hard/Nightmare |
|---|---|---|---|
| Enforcer | 5 | 5 | 6 |
| Gunner | 18 | 21 | 25 |
| Berserker | 2 | 5 | 7 |
| Stalker | 3 | 5 | 6 |
| Mutant | 1 | 1 | 1 |
| Technician | 2 | 2 | 2 |
| Daedalus | 3 | 3 | 3 |
| Medic | 2 | 1 | 0 |
| Gladiator | 6 | 6 | 7 |
| Medic Commander | 1 | 2 | 3 |
| Turret | 17 | 23 | 25 |
Secrets
- #1) There's a door near the start of the level leading to a computer system which shuts off level 1 defenses (see the "Notes" section below), and several explosive barrels are found in this room. There's a destroyable section of wall opposite the computer, above the floor level and between the two large pipes. You can reveal it by shooting the barrel directly opposite the computer, and then you can reach the ledge by pushing another barrel over to it to provide yourself a platform (if all of the barrels were destroyed when you fought the Strogg in this room, then you can still rocket jump your way up there). It contains an Ammo Pack.
- #2) SECOND VISIT: After re-entering this level from Waste Disposal, you'll soon find a conveyor system which moves larges containers of slime, and attaches lids to them before sending them on their way. Be wary of the conveyor track - it's deadly when it's glowing red, and safe to walk on when it stops glowing. First, collect the enviro-suit that can be found on a ledge in this room. Make your way on top of the machinery so you can jump onto one of the containers after its lid has been affixed. From this position you can crouch and see a shootable button underneath the machinery. Shoot it, and a message will appear saying something fell into a container. If you're standing on the container whose lid has just been affixed, then the next two open containers will contain nothing but slime, and the third container will contain slime and an Invulnerability. As the correct container approaches, activate your enviro-suit and jump in to collect the Invulnerability, but you will need to rocket jump to get out of the container again because its walls are slightly too high to escape normally. If you jump into the wrong container, you still have time to get out and try the next one before your enviro-suit runs out if you're quick enough, but you'll take more damage from rocket jumping your way out again.
- In the 2023 remaster, Secret #2 functions rather differently. The containers are initially empty and will be filled with slime halfway through the track. This means you can clearly see which container the Invulnerability has been dropped into and safely jump in to collect it, but be ready to activate your enviro-suit before the slime is poured into it, and swim out using the slime before the lid is affixed. Helpfully, you can easily swim out of the containers without needing to rocket jump. However, in the 2023 remaster it is safer to shoot the switch before the slime is poured into the container, as the lid will be affixed quickly thereafter and can crush the player.
- #3) (Original game SECOND VISIT:) In the outside area where you first entered the level (via the air vents), there is a triangular-shaped portion of rocky wall on the left side of the left air vent (underneath the massive hangar bay doors) that can be destroyed by your gunfire. You'll know you're hitting around the right spot when hear the sound of a bullet bounce off the wall. ln the original game, this portion of wall is indestructible until your second visit to this level, but in the 2023 remaster it can be destroyed at any time. Destroying this section of rock will trigger the secret and you'll see a message informing you that you released a Mutant; there is a Double Damage in the hidden cave as well. Incidentally, this is the only Mutant to be found in either of the two mission packs.
Deathmatch
Differences
Coming soon...
Notes
- When the player arrives in this level from Waste Disposal via the air vents, there is a bunker near the air vents containing a computer. This computer is optional, and if the player chooses to use it then a message will inform them that level 1 defences have been deactivated. This refers to several Turrets located in the corridors leading into the main facility; by interacting with the computer, the Turrets won't emerge from the walls. However, this doesn't actually destroy the Turrets, merely stops them from emerging, so doing this will prevent the player from achieving 100% kills on this level. Incidentally, the computer system can be destroyed thanks to a nearby explosive barrel.
Bugs
- In the original release of Ground Zero, this level contains a missing kill. After the player opens the primary entrance during their first visit to this level (at which point they are directed to return to Waste Disposal via the sewer pipe), two Gunners and a Turret are meant to appear at the top of the passageway. However, the Turret does not emerge from the wall, preventing the player from achieving 100% kills. This problem is fixed in the 2023 remaster.