![]()
| |
| Research Hangar | |
| Game | |
| Unit | |
| Previous Map | |
| Connected Maps | |
| Next Map | |
| Enemies |
Easy: 33 |
| Secrets |
2 |
| New Weapons |
Disruptor (2023 Remaster only) |
| New Enemies | |
| New Misc | |
| [Source] | |
| “ | Locate Strogg research hangar. Secure and prep Strogg experimental fighter. | ” |
—Mission briefing | ||
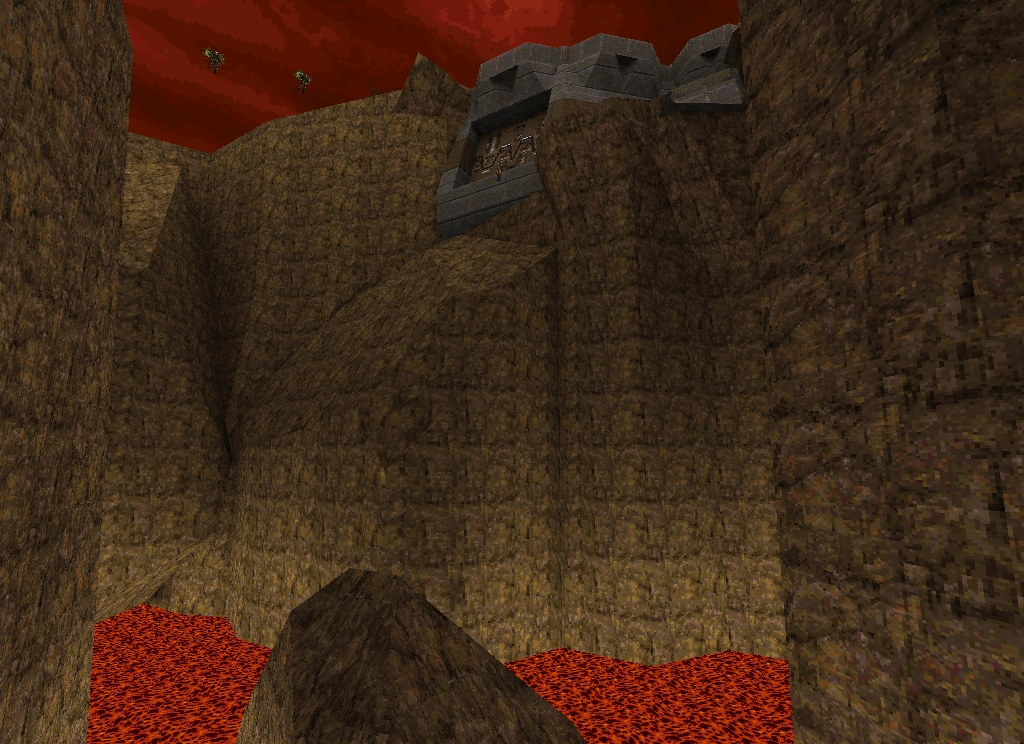
The Research Hangar is the first map of Unit 3 of Quake II Mission Pack: Ground Zero. Stepchild left the Base Complex through an overflow tunnel, and his next objective is to reach a secret research hangar in a canyon filled with lava. At first, he finds himself in a support structure in the same canyon, where hopefully he can activate a bridge to reach the hangar.
In the 2023 Remaster, the new Disruptor weapon can be found on this level, near Zor's crashed drop pod.
Walkthrough
- Research Hangar for the first time:
You'll receive orders to destroy a large Anti-Aircraft Gun. To achieve this, you will need to find an airstrike marker - another Marine had one in his possession, but his drop pod crashed and you must retrieve it. Proceed through the facility and you'll eventually find his crashed drop pod, but the airstrike marker will be seized by a Gladiator, so you'll need to take it from his cold, dead hands. Once you reach the AA Gun, you'll find that the roof over it has been sealed, so you'll need to reprogram the Gun with a nearby computer panel to blast the roof open, exposing it to the airstrike. After the gun is destroyed, your orders are to proceed to the hangars on the other side of the lava-filled canyon, but you'll find the bridge equipment is malfunctioning, which means you will have to find an alternate way there. The airstrike has smashed a hole into a nearby pipeline, allowing you to reach a nearby waste processing facility.
- Second visit, after coming back from Maintenance Hangars:
At last, you have reached the hangars containing the Strogg Prototype Fighter, but it's guarded by a new and powerful enemy - the Carrier.
Enemies
| Enemy | Easy | Medium | Hard/Nightmare |
|---|---|---|---|
| Enforcer | 3 | 0 | 0 |
| Gunner | 6 | 10 | 13 |
| Iron Maiden | 2 | 4 | 6 |
| Berserker | 6 | 6 | 6 |
| Stalker | 6 | 8 | 9 |
| Flyer* | 0 | 0 | 2 |
| Daedalus | 4 | 6 | 6 |
| Medic | 0 | 0 | 1 |
| Gladiator | 2 | 4 | 5 |
| Turret | 3 | 5 | 8 |
| Carrier | 1 | 1 | 1 |
*Not including Flyers spawned by the Carrier.
Secrets:
- #1) Near the beginning of the level, you find a large room containing four large pillars, and in the lower section of the room there is a suit of Body Armor in an elevated alcove, blocked by a red laser. On the ceiling, by one of the pillars, there is a Shootable Button. Shooting it will causes the adjacent pillar to come crashing down, and the resulting crash culminates in the lower section of level being flooded. When the water level reaches its highest, the red laser will be disabled, allowing you to retrieve the Body Armor. The crashing pillar also breaks open another alcove revealing an Adrenaline.
- #2) SECOND VISIT: As you re-enter this map from the Maintenance Hangars, you'll find a room with computer panels. Jump to the top of the servers, and then shoot the top of tallest one; there is a Power Shield hidden inside.
Easter egg
A section of the facility (when you pick up an airstrike marker guarded by a Gladiator) has been ruined due to the crash landing of a Drop Pod marked Zor; this Easter Egg refers to Rogue Entertainment's level designer, Berenger "Zor" Fish. "Zor" is also referenced during the introductory cutscene.