
| |
| Interior Hangar | |
| Game | |
| Episode |
Air Defense Bunker |
| Previous Map | |
| Next Map | |
| Enemies | |
| New Enemies | |
| [Source] | |
Interior Hangar is the fourth level of Quake 4.
Corporal Kane, along with Viper Squad must secure the area so Corporal Rhodes can use detonators to destroy the Hangars, thus the Flyers wouldn't be a problem for ground units.
Be careful when Cpl. Rhodes is with you, if he dies, the game will trigger a mission failure and restart all over again from the latest checkpoint.
Walkthrough
Goodbye to Viper Squad
After the activated the elevator from the last level. Depending on you that played in previous level if the medic and technician survived. They will tag along with you. In the beginning, where you along viper squad view on all the Flyer thinking about how many of their forces is going to hang on if the hanger open up to bombard of their ground division to take it. After reaching the top, Sgt. Morris contact you with along the Viper Squad that the Rhodes will come up any-time to destroy the hanger. When entering a door that have lock. However, It open afterwards as allowing you to go inside.
Inside there, the squad leader contacting the demolishing member of the situation to come up. When the conversion over couple of Guard and Grunt including the Turret, take the four turret on the ceiling first because they will do the most damage. The rest of the enemy will likely to charge at you, so get your shotgun ready. This area, despite with a lot of enemies, can be cleared with little trouble if you cooperate with Viper Squad members. The place is clear as they return to the elevator. Where Cpl. Rhodes awaits to tell them to secure other places that are not being securing.
Sabotaging the Hangar
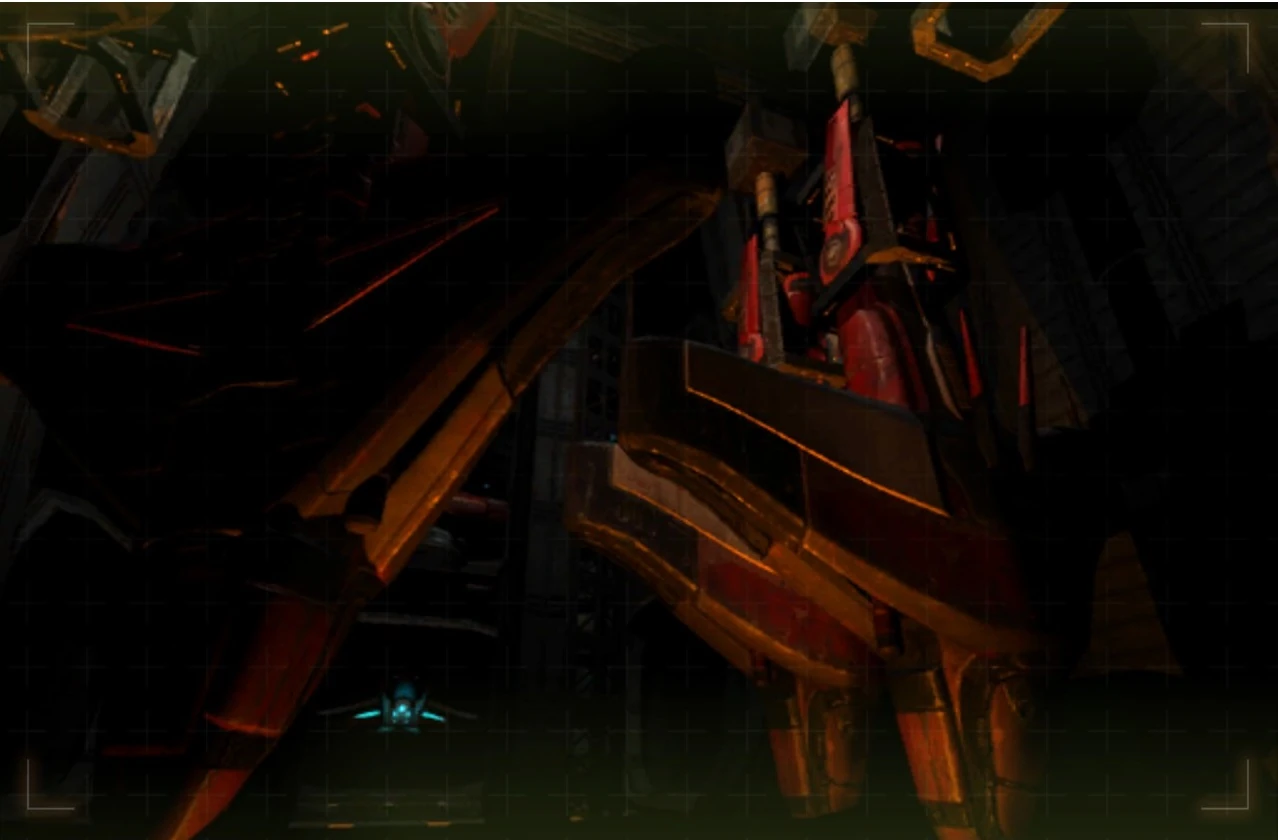
Now, the hard part of this level begins, Cpl. Rhodes carries serveral explosive that is needed to take out the Hanger, but unfortunately, these devices are sensitive to gunfire fired by friend or foe, thus you need to escort Cpl. Rhodes or the mission fails, the real point is don't stay away from him and keep him alive. First, you arrive at a large area, there are three ways, left, right and middle, Cpl. Rhodes has to plant the bomb safely at left and right, the door in the middle will be unlocked. The large area is safe until one of the site has planted bombs. I suggest go right first, moving from right to left is a little easier because you are less likely to be hammered from both sides. In each room, you will see some Guards, not very hard if you have enough Machine Gun ammo, and a Gunner will appear at the catwalk above, so watch out for him. Berserkers, Gunners and Guards will be arrived shortly after you returned to the large area, and you will be hit on both sides, kill the Berserkers quickly with shotgun, they are more dangerous compared to Guards and slower walking Gunners, which Cpl. Rhodes should take care some of them. If you having trouble beating this, simply retreat to the previous room, dealing them at one dirction is a lot easier, also supplies are scattered around the Hanger, don't forget to get them. After the bombs have been planted, get to the middle and take the elevator. Later Cpl. Rhodes will contact HQ and detonate these badboys, so the Flyer Hanger is no more.
Regroup
Looking for a break? Think again, because Sgt. Morris needs you to support their attack the AA site you just seen two levels ago, after some conversations, the door to the elevator will be opened, level ends.
Weapons
Items
- Small Medkit
- Large Medkit
- Clips
- Shells
- Large Armor Vest
- Armor Shards
Characters
Bugs
There is a bug on this level where after clearing out the Strogg to allow Rhodes takeover. Sometime, the AI didn't followed to the elevator that keep stuck over there.
Video
 (15 KB)")