![]()
| |
| Upper Palace | |
| Game | |
| Unit | |
| Soundtrack |
04 - Kill Ratio |
| Connected Maps | |
| Next Map | |
| Enemies |
Easy: 47 |
| Secrets |
7 |
| New Powerups | |
| New Misc | |
| [Source] | |
| “ | We have a disable and destroy order on communication laser. | ” |
—TCM radio transmission | ||
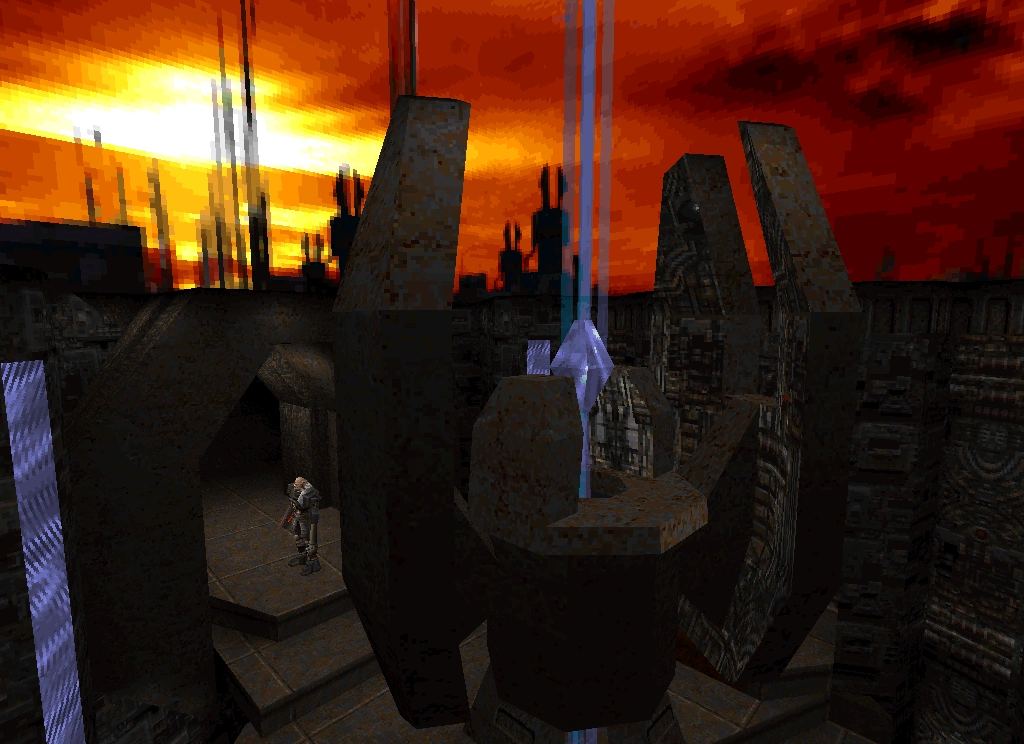
The Upper Palace is the heart of the Strogg Palace city. It stands as an imposing symbol of Strogg might and conquest. It is also the place that houses the Communication Laser, which allows the Makron to communicate with his armies throughout the planet.
The area is heavily guarded and riddled with security devices. An intruder might need to use several different entrances before effectively removing all barriers.
The lower reaches of this area appear to be an archaeological excavation of some sort. It might lead the curious player to an interesting discovery.
Quick Level Completion
Coming soon...
Walkthrough
Coming soon...
Enemies
| Enemy | Easy | Medium | Hard/Nightmare |
|---|---|---|---|
| Light Guard | 8 | 12 | 14 |
| Shotgun Guard | 7 | 10 | 12 |
| Machine Gun Guard | 9 | 13 | 17 |
| Gunner | 7 | 10 | 11 |
| Iron Maiden | 8 | 11 | 11 |
| Technician | 4 | 7 | 8 |
| Tank Commander | 2 | 2 | 2 |
Secrets
- #1) Enter this map via the lower entrance from Lower Palace; when you get to the room with the railing overlooking a lower level containing two Light Guards and a Yellow Forcefield, go down to this area and clear out the Guards. After some time passes a section of ceiling will explode, revealing a Technician and a Shootable Button; shooting this button will net you the secret, and drop an Enviro-Suit down to you.
- #2) When you get to the elevator shaft, ride the elevator all the way up (mind the enemies in here!), shoot the grate at the top of the shaft to open it, go through it, and you will notice that a small section of wall in this room is slightly recessed. Shoot this to open it, revealing a secret area with a Power Shield, Slugs, and an Invulnerability.
- #3) SECOND VISIT: Enter the map through the main entrance in Lower Palace (using the elevator near Secret #5), clear out the Guards in the starting room, and go through the right Red Forcefield doorway using the switch to deactivate it. Take out the trio of Light Guards to your right, then immediately look up to the ceiling to spot a slightly recessed square section of it. Shoot this to open the wall compartment directly in front of you, for an Adrenaline, Slugs and Cells.
- #4) SECOND VISIT: Just past Secret #3, you eventually come to another long hallway with a Gun Trap at the opposite end. Drop off the walkway into the lava below, and quickly go over to the secret alcove down here for a Quad Damage and some health, as well as an elevator to take you back up and past the Gun Trap. The room after this contains the door that leads to the switch that disables the Yellow Forcefields. Note: the lower the difficulty level, the more ledges are there to offer a foothold against the lava. If playing on Easy difficulty, it is easy to avoid contacting the lava; if playing on Hard/Nightmare, expect to take damage (minimal if you just cover the distance with two quick jumps though).
- #5) SECOND VISIT: Go back to the room you started in, and this time, go through the left Red Forcefield doorway and take the elevator up. Clear out the enemies in the next room and you will come to an intersection; the right path leads to the elevator shaft which was previously blocked by the Yellow Forcefields (which should now be deactivated), and the straight path will lead to a bridge with a Tank Commander on the other side. Kill the Tank Commander and go to where he was standing in the dark corner. When you get to where you have to turn right to go through a set of doors, look at the right corner of the walkway to spot a small, dark hole that you can drop through. Drop through here to find your next secret, with Cells, Slugs, a Large Health and a suit of Combat Armor.
- #6) SECOND VISIT: Go back to the lower portion of the map (where you visited first) and go back down to where Secret #1 was located. Now that the Yellow Forcefield has been deactivated, you may now go into this new room. Go in here, clear out the enemies and press the button to lower a set of stairs, leading to a dead-end room with a pool of acid, and a Technician. Destroy the enemy and look at the dirt wall in between the bricks to spot a section of it that looks slightly recessed. Blow this up and jump into the alcove to get a suit of Body Armor.
- #7) SECOND VISIT: In this same room, jump to the narrow ledge on the other side of the acid pool. There is a small portion of the dirt wall here (on the floor) that is jutting out a bit. Push it in, activate your Enviro-Suit and dive down into the acid; a path has been opened. Swim through here to find an Adrenaline and surface into the new room to find the final secret of the map, and a very special one indeed! In here, you will see a picture of John Carmack with his Ferrari, the Doom logo, a keyboard that you can use, and a tube full of liquid. Using the Red Key that you obtained in the final secret of Outer Courts, press in the keyboard, destroy the glass tube and jump inside it to grab Carmack's Head (which is worth a whopping 5 Adrenalines!) as well as another Adrenaline pickup. Blast open the brightly-colored portion of wall to get out of this room via the previous secret.
Bugs
- In the original game, this level suffered from missing kills on all difficulty settings. Two Iron Maidens are meant to appear in the area by the blue force fields after the Communication Laser is destroyed, but they did not spawn into the map correctly, so the player was unable to achieve 100% kills. This has been corrected in the 2023 remaster.
Notes
- The murals in the Upper Palace contain symbols from the Runic theme of the first Quake game.
- Aside from the two missing kills mentioned in the Bugs section, there is another common problem where players report missing kills. Three Light Guards on this level have rather specific spawn triggers; they will only appear when the player presses a particular button. It is a button the player does not need to press, depending on which way they choose to go when exploring the level, so the player may fully explore the level without actually pressing the button and therefore missing these three kills. In the room at the top of the elevator in the main entrance to this level, there are several Light Guards and two force fields. Three more Light Guards will spawn if the player presses the button to turn off the force field on the right side of the room; however, it is only the button on this side of the force field that causes them to spawn. If the player explores the level in a different direction and deactivates the force field with the button on the other side (next to Secret #3), this will not cause the Light Guards to spawn, and the player will not be able to achieve 100% kills unless the first button is pressed as well.
Deathmatch
Differences
Coming soon...