![]()
Hell's Atrium is the fifth level of The Elder World. This level begins with a large central courtyard, most of which is filled with Slime, with corridors leading in several directions. A large part of the level is a hidden underground system of spacious hallways with massive support beams along the walls and ceiling.
The player must search for the Silver Key and Gold Key in order to proceed. If the player jumps on the thin posts of the bridge, they may be able to exit the level rather quickly, if they wish to exit to E4M6: The Pain Maze. Lowering the bridge seals off the pathway to the Secret Level, therefore jumping on the poles is a must if the player wants to go there.
Quick Level Completion
- Follow the corridor to a large central room.
- Drop to the right and collect the Gold Key.
- Return to the central room and cross to the left.
- Open the Gold Door and go through.
- Go through the doorway to the left.
- Follow the corridor to the right to a Button at the end.
- Press the Button to drop through a hole.
- Follow the corridors to the opposite side of the room and go through the doorway.
- Follow the corridor to a Floorplate.
- Press the Floorplate and return to the previous hallway.
- Go through the newly opened doorway on the left side.
- Go through the doorway to your right.
- Follow the corridor to the top of the stairs.
- Collect the Silver Key.
- Return to the large central room at the start.
- Go through the straight corridor from the start.
- Follow the corridor to a Silver Bridge.
- Use the Key on the bridge and cross to get to E4M6 through the Arch.
- If you wish to get to E4M8, jump on the pegs of the bridge to get across, then use the Silver Key on the Silver Door.
- Exit via the Teleporter.
Walkthrough

E4M5 - Hell's Atrium
Collect a 100 Health and kill the Zombie in the starting corridor. As you continue down the corridor, turn around to a Wall opening to the left of the start with a Death Knight and Nails. Turn right at the end of the corridor and enter a large room with Slime. In the middle of the room is a pathway leading down stairs with Nails on the stairs. Go to the opposite side of the wall on the opposite side of the Slime room to 2 Nail Traps and two 25 Health. Collect the Ring of Shadows in the doorway on the opposite side of the wall. On the opposite side of the wall of the next room; kill the Death Knight and collect the Green Armor, Quad Damage, Rockets, and Nails. Go through the doorway to the next room, and go around to the opposite side of the wall. Collect the Nails next to the bridge of Lava that must be lowered by the Silver Key. As you return to the corridor with the Nail Traps, kill the Spawn that has spawned in the doorway. Kill the Vore that has spawned on the left platform in the Slime room. Drop to the right platform in the Slime room, the one next to the Elevator sitting in between the right and the center platforms. Go to the opposite side of the wall to two 25 Health. Enter the next doorway and kill the 6 Zombies in the next room. Collect the Nails, Rockets, and Gold Key; as the Gold Key is collected kill the Spawn that spawns, then return to the center platform of the Slime room by the use of the Elevator in the Slime room. Jump to the left platform of the Slime room and collect the Rockets. Go to the opposite side of the wall to two 25 Health and the Gold Door.
Collect the Shells and 15 Health to the right of the next room. Ignore the doorway to the left for a minute. Press the Floorplate to lower the Elevator straight ahead. At the top turn around and shoot the Button to raise a platform leading to another room. Jump across the platform to the room (#1). Enter the doorway to the left on the lower floor and collect the Nails and Super Nailgun. Take the left corridor at the intersection. Kill the 3 Zombies, collect the Ring of Shadows and Nails in an alcove, and the Rockets by the stairs overlooking the right corridor. Return to the intersection and take the right corridor. Kill the 4 Zombies and collect the Nails and 25 Health underneath the stairs. Press the Floorplate in the first room to the right to lower the Bars to the right for a brief amount of time. Collect the Nails and Pentagram of Protection in the alcove inside, and beware of the Lava as the floor moves. Press the Floorplate to open the Bars once more. Kill the 3 Zombies that have spawned in this area, as well as collect the Nails and 15 Health behind the Wall that has opened to the left of the right corridor. Press the Button in the second room to the right to open the Floor to the next corridor. Turn left at the bottom, kill the Zombie, and collect the Quad Damage. Turn right at the end, collect the Cells and 15 Health at an intersection, and kill the 2 Zombies. Kill the 2 Fiends that patrol these corridors, then take the right corridor. Collect a 25 Health at the end and turn left. Kill the 2 Spawns and collect the Nails. Ignore the doorway to the left and collect the Nails below the window with the Silver Key. Take the left corridor to an intersection with a 25 Health. Collect the Thunderbolt and 25 Health in the alcove to the left. Ignore the corridor to the right and collect the Green Armor straight ahead. Kill the Spawn next to the Teleporter, but ignore the Teleporter for the time being. Kill the 2 Fiends that spawn when all other enemies in this area have been killed.
Collect the Nails in the alcove straight ahead. The corridor to the left is the left corridor from the intersection to the right of the most recent Quad Damage. Return to the right corridor of the last intersection and collect the Nails, Cells, Shells, and 25 Health. Collect the Cells at the top of the ramp and turn left. At the end turn right twice and collect the Shells in the next corridor. Turn left into the next room and press the Floorplate. 8 Windows in the corridors from the top of the ramp will open, revealing alcoves with a Zombie inside, or 6 Zombies all together. Collect the Nails and Rockets in the alcove to the left, which has another doorway leading to the Shell corridor. Ignore the doorway to the left for a moment, and follow the corridor to the right. Collect the Rockets in the alcove at the end. Turn left to the starting corridor and collect Rockets in an alcove. Ignore the alcove at the end and return to the Floorplate room. Collect the Quad Damage in the first alcove to the left, and the Cells in the second alcove. The alcove straight ahead contains a dead end, but shoot the Wall to the right inside the alcove to open the Wall to an Elevator to small ledges overlooking the Window corridor below. Dive into the Slime to the left (#2). Return to the start corridor by the use of the second floor platforms to collect the Cells. At the opposite end of the starting corridor is another corridor to the left (#3). Take running jumps across the first two arches, then come down somewhat for a lower jump to jump to the arch to the left at the end of the corridor (#4). Return to one of the two ignored alcoves in the Window room. These actually lead to another room. Collect the Rockets to the right. As you collect the Cells to the left, the Windows in the room will open, revealing more alcoves. The two on the left side each hold a Zombie, or 2 Zombies together. The far left alcove holds a 15 Health, and the back wall alcove holds a 25 Health. The right alcove holds a Spawn and Rockets. In the far right corner is a doorway leading to a ramp. At the top of the ramp turn right to the Cells. Turn left and go up a second ramp to a 15 Health and Shells. Turn right and collect the Silver Key beside the window you saw earlier.
Return to the Teleporter and start to walk towards it. The Wall will move, revealing a long corridor to get to the Teleporter. Kill the Fiend and press the Button in both the left and right alcoves, or 2 Fiends and 2 Buttons all together. Pressing the Buttons releases the Bridge to the Teleporter across the Water. Dive into the Water and collect the Cells and Quad Damage. Enter the Teleporter to return to the right corridor from the room after the Gold Door. Return to the room before the bridge and kill the Vore that has spawned. If you wish to exit to E4M6: The Pain Maze, use the Silver Key on the bridge to lower it, so you may jump across to the Arch. If instead you wish to go to E4M8: the Nameless City, jump on the posts of the bridge while bewaring of the Lava below and unlock the Silver Door to the right of the Arch. Inside is the Exit Gate.
Differences from Easy to Normal
- 2nd Death Knight behind Wall of start
- 2 Spawn in entrance to Slime room
- Fiend by exit bridge
- Death Knight in Gold Key room
- Spawn on left side of room after Gold Door
- Ceilings lower to crush player when collecting either 100 Health or Quad Damage in (#1)
- Death Knight in alcove with Cells in (#1)
- Fiend spawns when farthest Zombie on left corridor of room after Gold Door dies
- Lit up window on the left corridor of room after Gold Door must be show to open alcove with Ring of Shadows
- Vore in alcove on left corridor of room after Gold Door
- Death Knight and 4th, 5th, and 6th Zombie spawn in corridor of room after Gold Door after picking up the Pentagram of Protection
- Spawn in entrance corridor to arched corridor
- 3rd Fiend patrols arched corridors
- Spawn by Thunderbolt
- Spawn in Shell corridor of Window room
- Death Knight on second floor of Window room by Floorplate room
- Spawn in (#2)
- Death Knight in (#3)
- Death Knight on ramp to Silver Key
- Death Knight by Silver Key
- 4 Rotfish in Water
Differences from Normal to Hard/Nightmare
- 2nd and 3rd Death Knight in room before bridge room.
- 2nd Rockets by Gold Key
- 2nd Spawn spawns when Gold Key is taken
- 3 Zombies in (#1)
- 2nd Death Knight spawns in corridor of room after Gold Door after picking up the Pentagram of Protection
- 2nd Zombie in entrance corridor to arched corridor
- Fiend on ramp to right of entrance corridor to arched corridor
- 4th, 5th, and 6th Fiend patrol arched corridors
- 3 Zombies on right side of arched corridor
- Nails on far side of arched corridor
- Zombie on far side of arched corridor
- 2 Zombies on left side of arched corridor
- Rockets on left side of arched corridor
- 3rd Fiend spawns when all other enemies in the arched corridors have been killed
- Spawn in alcove with Movable Wall to (#2)
- Death Knight in the first room to the left of corridor (#3)
- Spawn by ramp to Silver Key
- Vore by the Arch
Secrets
| Secrets | ||
|---|---|---|
| (#1) | 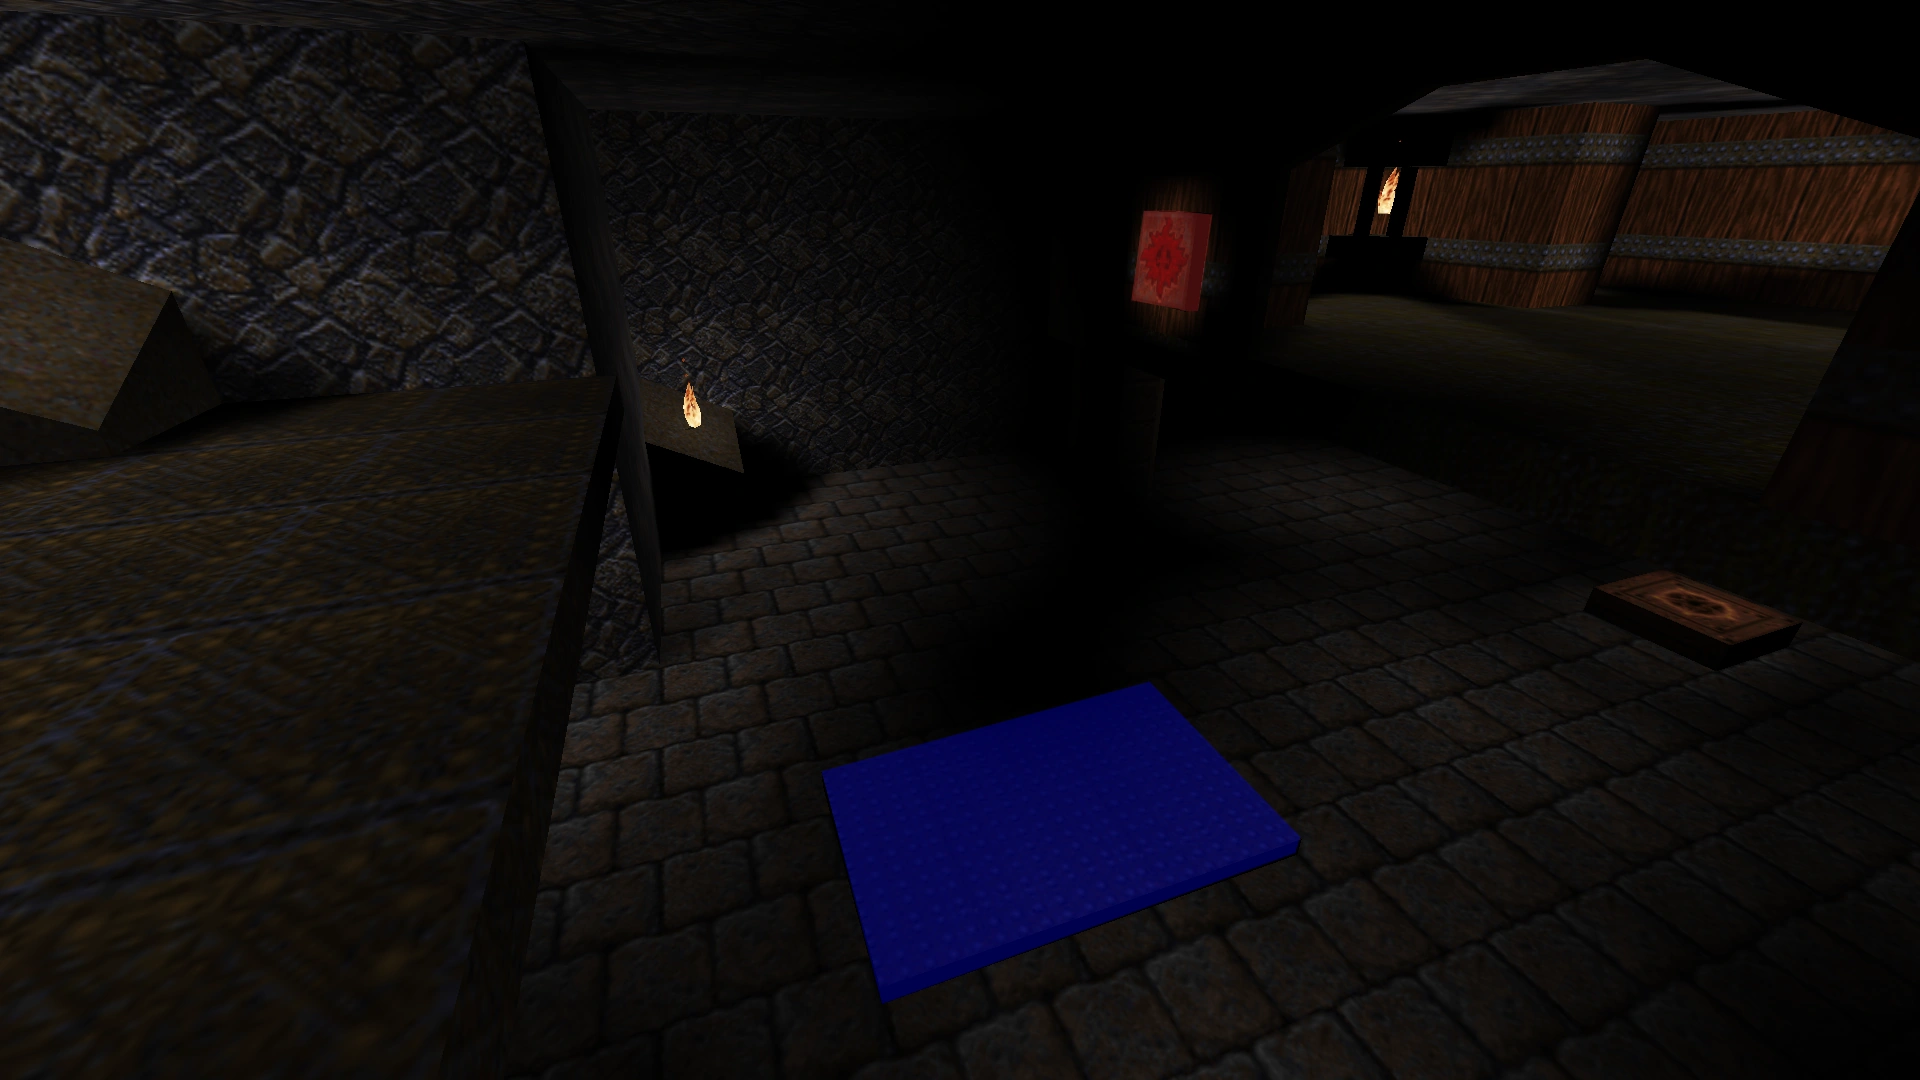 |
In the room just past the Gold Door, shoot the Button behind you at the top of the Elevator and jump into the room across. Collect the Cells, two 25 Health, 15 Health, Nails, and 100 Health. Kill the Vore that spawns as you collect the Quad Damage. |
| (#2) | 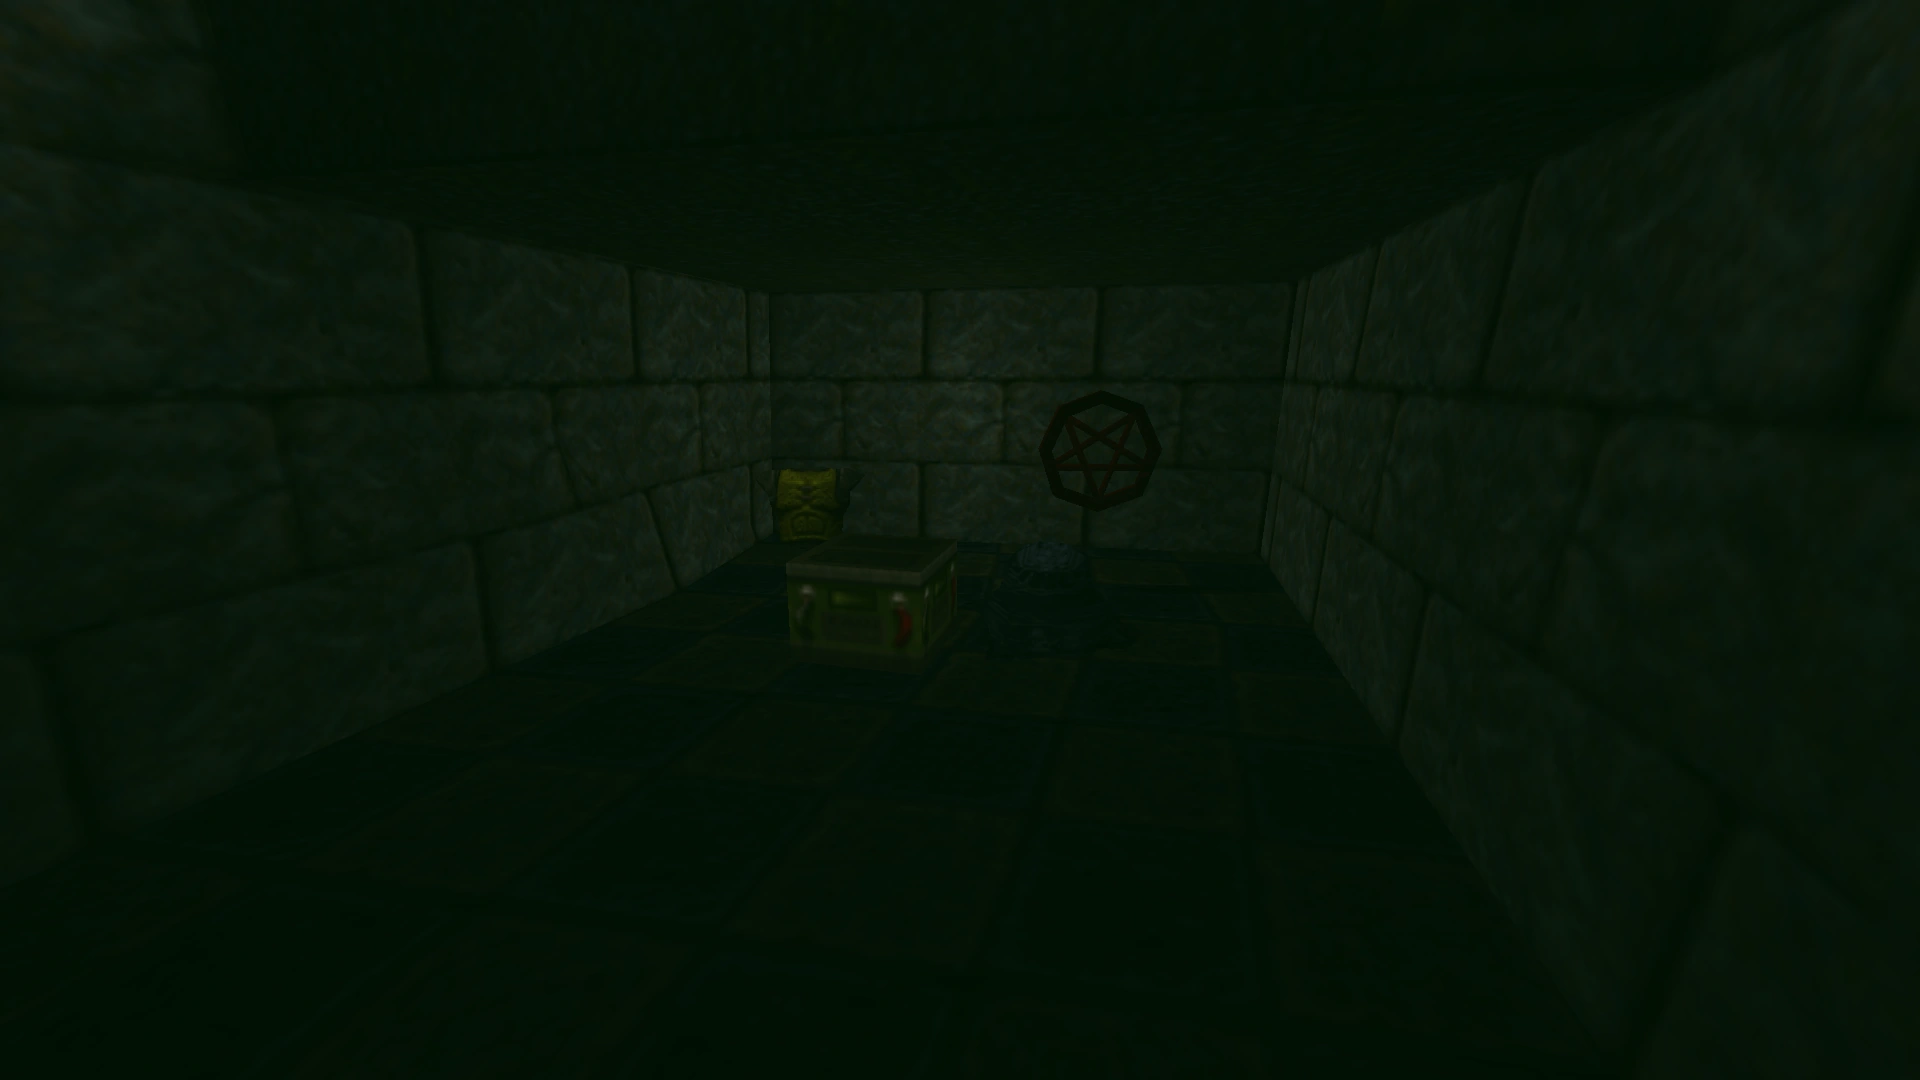 |
Dive into the Slime at the top of the Window room to collect Yellow Armor, Cells, and a Pentagram of Protection. |
| (#3) | 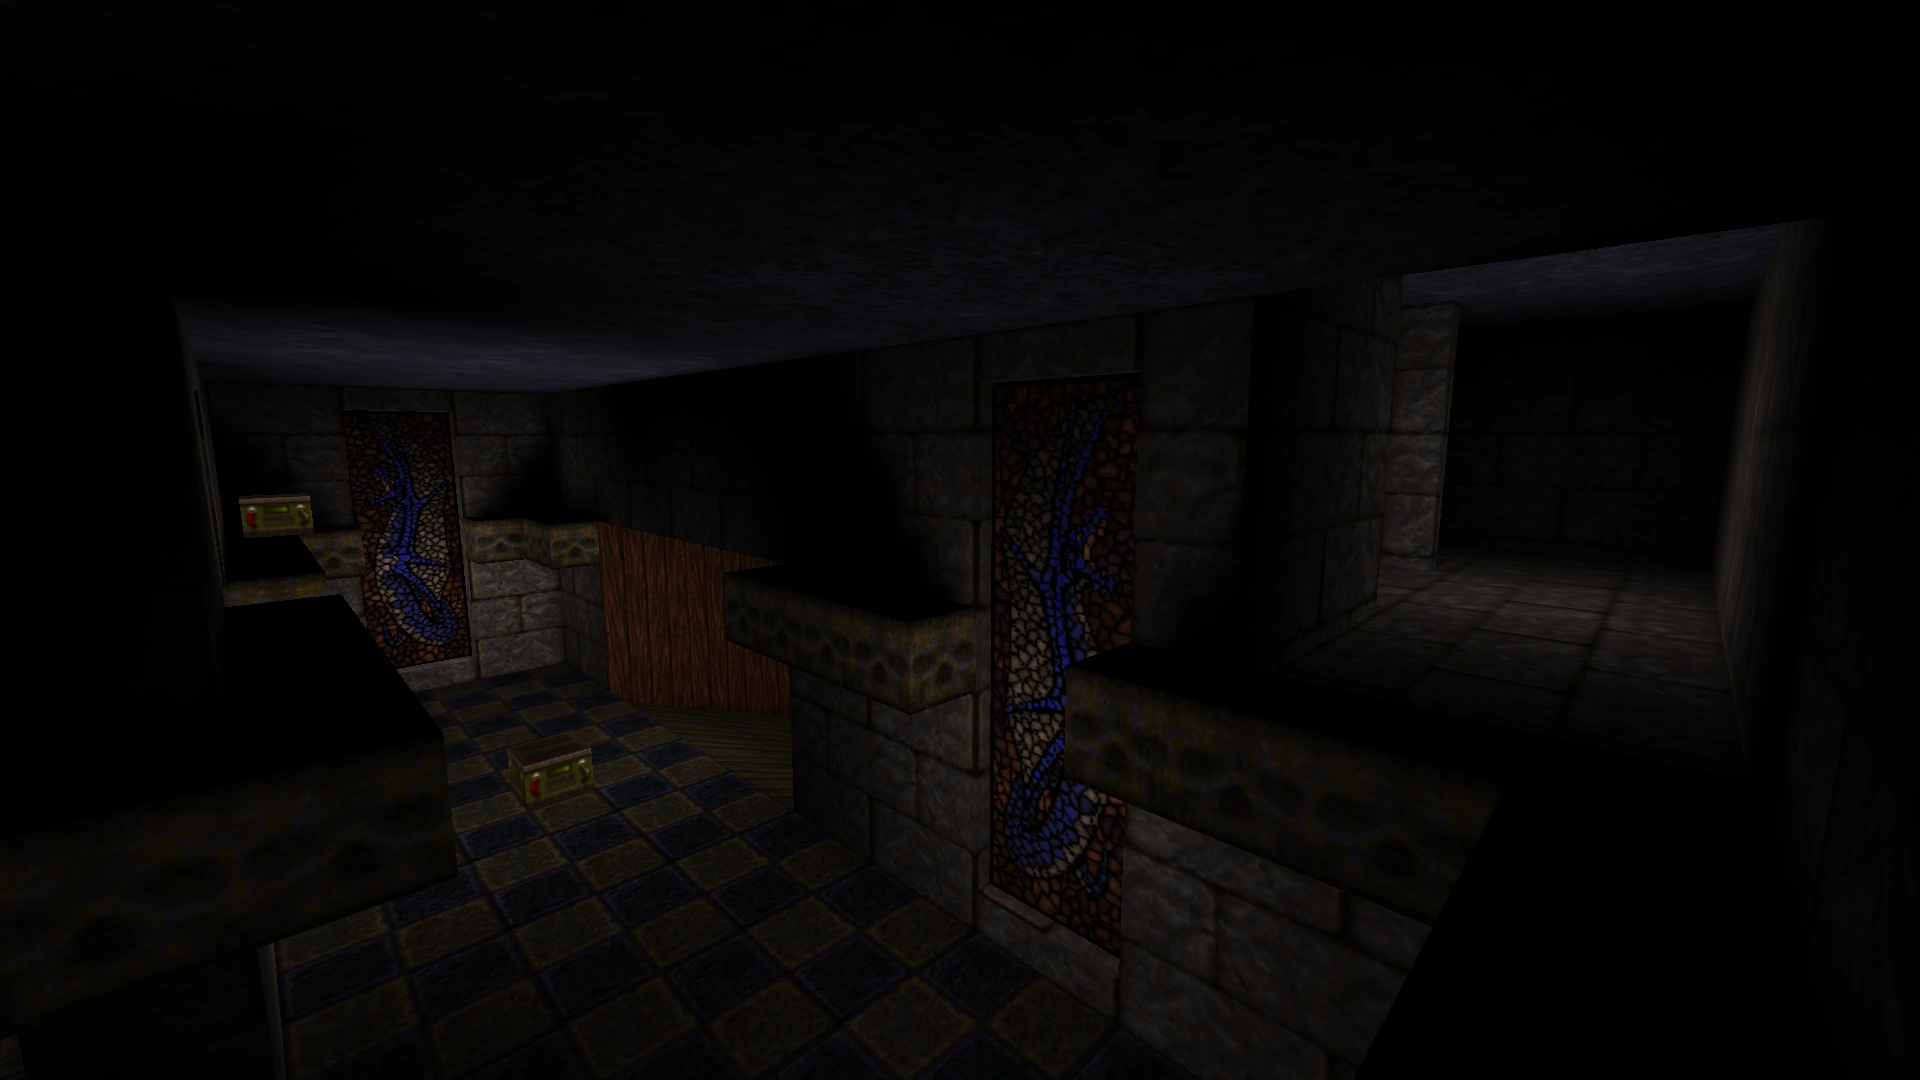 |
At the opposite end of the starting corridor on the second floor is another corridor to the left. Follow the corridors around while collecting the Cells to an area overlooking the arched corridor. Jump onto the left arch above the corridor to collect a 25 Health. |
| (#4) | 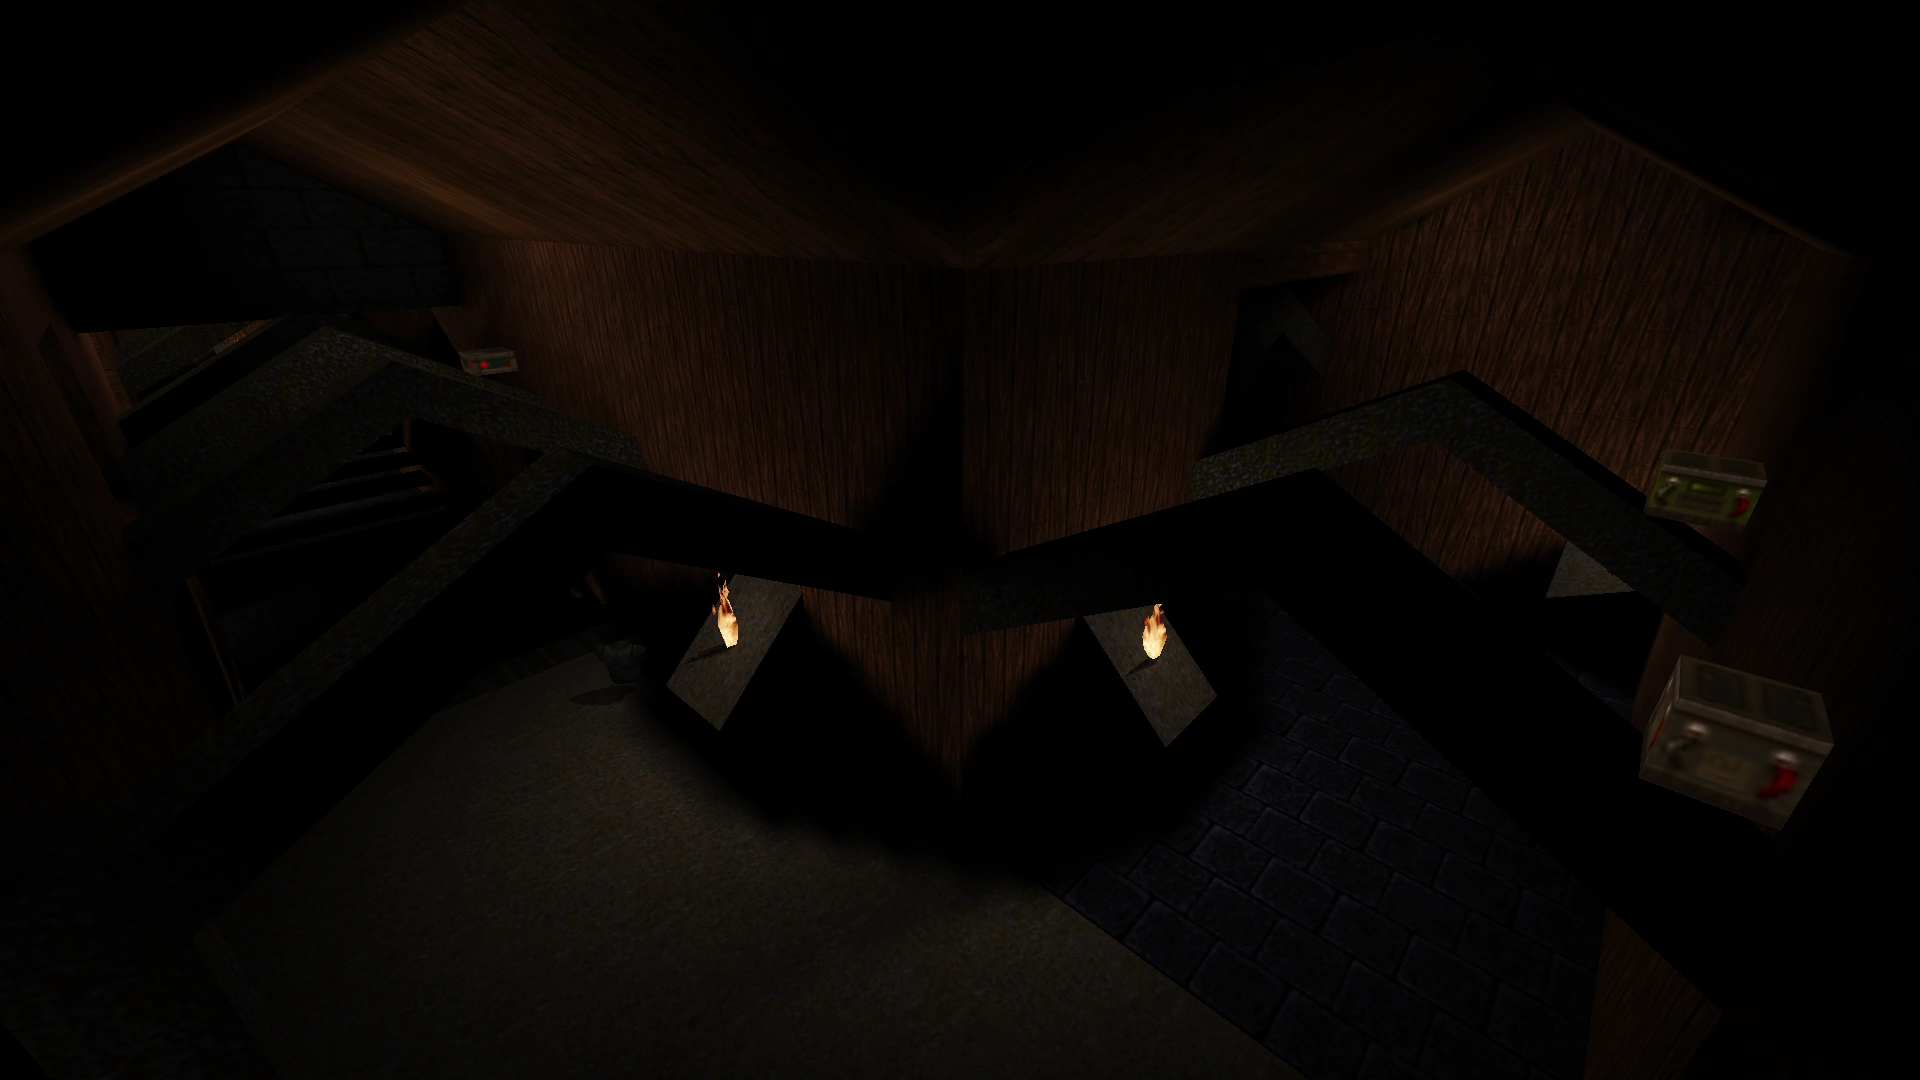 |
Take running jumps across the first two arches, then come down somewhat for a lower jump to jump to the arch to the left at the end of the corridor. Collect the Cells, and take a running jump to collect more Cells |
Enemies
| Type | Count | Notes | ||
|---|---|---|---|---|
| Easy | Normal | Hard/Nightmare | ||
| Rotfish | 0 | 4 (8) | 4 (8) | The vanilla engine counts each Rotfish as 2 enemies. |
| Zombie | 28 | 31 | 41 | |
| Spawn | 6 | 13 | 16 | |
| Death Knight | 2 | 10 | 14 | |
| Fiend | 6 | 9 | 14 | |
| Vore | 3 | 4 | 5 | |
| Total | 45 | 71 (75) | 94 (98) | |
Glitches
- By using a Quad Damage Grenade on the Fiend by the exit bridge, the player may be able to fly straight across to the exit.
- In the room leading to the E4M8: the Nameless City, there exists a unused Teleporter above the Exit Gate. Going into it shall send you to the Console due to no corresponding exit existing.
Trivia
If the player approaches the exit without picking up the Thunderbolt, a message will appear asking if you are sure you want to leave, since you left something important behind.
Deathmatch

E4M5 - Hell's Atrium (Deathmatch)
Differences
- No 100 Health at start
- Grenade Launcher at end of start corridor
- Double-Barrelled Shotgun at top of stairs of Slime courtyard
- Double-Barrelled Shotgun and Super Nailgun in room before bridge room
- Narrow wooden bridge goes across Lava to Arch instead of metal bridge that lowers
- Red Armor and Grenade Launcher in prior Gold Key room
- Nailgun in Slime courtyard by gold doorway
- When Floorplate on top of nearby Elevator is pressed, (#1) lowers its Ceiling.
- Rocket Launcher in (#1)
- No Super Nailgun in corridor of room after gold doorway
- Nailgun on left corridor of room after gold doorway
- Grenade Launcher behind Bars
- Rockets and Grenade Launcher in entrance corridor to arched corridor
- 2 Double-Barrelled Shotguns on right side of arched corridor
- Nailgun by Teleporter in arched corridor
- Thunderbolt replaced with Super Nailgun
- Thunderbolt at (#2)
- Metal pole on far left wall beside the arches in the arched corridor
- Rocket Launcher beside the Silver Key
- Removal of window beside Silver Key
- Pentagram of Protection in Water
Spawn Locations
- Room after gold doorway
- Start
- Prior to the Gold Key room
- Exit bridge
- Left corridor of room after gold doorway
- By Teleporter in arched corridor
- Second movable Window room
External Links
| E4M4: The Palace of Hate | Quake Levels | E4M6: The Pain Maze E4M8: The Nameless City |