![]()
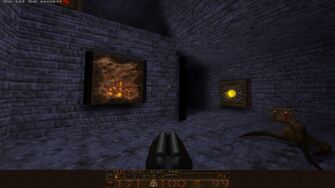
Azure Agony is the seventh and last level of The Elder World. True to its name, the entire level is made of azure brick or stone walls in the Wizard level theme, as well as several platforms of silvery metal, which blends in with the overall color scheme. The only break in this azure theme is a hall of red brick. The level features numerous pools of clear blue Water, which add further to the azure atmosphere. One of these pools is decorated with unique glowing orbs, which do not appear anywhere else in the game.
The player must search for the Silver Key in order to proceed. The player must also search and collect the final Rune in a maze of corridors before confronting Shub-Niggurath.
This level had the largest file size of all levels included with the original game. At 1460 KB, it was 60 KB larger than E3M5: The Wind Tunnels. At 1.4 MB, this was the maximum size a level was allotted to be during the development of Quake. 1.4 MB was the capacity of a 3.5 floppy disk.
Quick Level Completion
- Go straight into the next room
- Go straight through the next door, and let it make you fall.
- Press the button on the left, and the button on the right to open the area in front of you.
- Go through the newly opened doorway, then up the Elevator.
- Turn left and follow the corridor to the end
- Turn left and follow the corridor to the beginning of the hall of red brick.
- Turn right and go until the intersection.
- Take the doorway to your left and follow it to the hallway under the window.
- Turn right and follow the corridor to the end.
- Turn left and go up the stairs.
- Turn right at the top and follow the corridor to an intersection.
- Turn left at the intersection and enter the next hallway.
- Follow the corridor right until the end.
- Turn left and climb the stairs overlooking the Water.
- Shoot the Button overhead to move the Platform across the Water.
- Jump across the Water to the platform, then follow the corridor to the end.
- Turn left at the end, then follow the corridor to the next room.
- Collect the Silver Key in the middle of the room.
- Shoot the Window just above you.
- Drop into the Water, and shoot the Window in the middle area.
- Return to the platform above the Water, and go through the newly opened doorway to the left.
- Turn right at the end and follow the corridor to the end.
- Go through the Silver Door to the right.
- Follow the corridor to the next room.
- Go up the Elevator.
- Kill the Vore(s) on the platform(s).
- Jump to the platform in front of you and collect the Rune.
- Drop to the floor and go through the Exit Gate.
Walkthrough
E4M7 - Azure Agony
Collect a 100 Health in front of you. Enter the next room and collect a 25 Health. Jump into the body of Water shaped like a star. Kill the 3 Zombies and collect the Yellow Armor, 2 Cells, 2 Nails, 15 Health, 25 Health, and Rockets. Press the Floorplate to open the Bars in front of it. Follow the corridor to some Nails at the end, then turn right at the end. Climb the stairs to get out of the Water and collect the Shells in the doorway to the next room. Enter the next corridor and kill the Death Knight that patrols the corridor. Turn left and follow the corridor to the end. Turn right and kill the Spawn. The Silver Door is behind you and the corridor to the left at the end of the corridor is Barred, so return to the top of the staircase at the top of the Water. Follow the right corridor this time and collect the Nails. Continue down the corridor, turning right at the end and going through the Door. This is the left Door from the star shaped Water room. Kill the 2 Zombies that have spawned in the room, one in the center and one in the close pool of Water from the entrance, from killing the 3 Zombies below. Continue down the room and go through the Door to your left in the center of the room, or the opposite side from the start. Jump from the entrance of the room to the left or right side, then onto the alcove to collect the 2 Rockets; then fall into the Floor that has been dropped. Kill the Death Knight, collect the Nails, and press the Button on the right side to lower the Bars in the center; then return to collect the Cells and press the Button to lower the Elevator in the center. Return to the center and press the Floorplate in the middle to open the Walls on the left and right side. Collect the Quad Damage in the left alcove, and a 25 Health in the right alcove. Go through the doorway straight ahead and up the Elevator. Collect the Nails, Shells, and two 25 Health, then go through the Door. Collect the Cells to the left and the Ring of Shadows next to the Nail Trap, then return to the Elevator.
Jump to the right side this time and collect the Green Armor, then go through the Door. Walk down the corridor to the intersection while evading the Nail Trap. Turn left at the intersection and kill the Fiend. Turn right and collect the Nails from the alcove. Go straight down the stairs of the corridor, and turn left at the end. Continue down the corridor and collect a 25 Health at the end at the start of the hall of red brick. Kill the Spawn and collect the Rockets from the alcove to the left, then follow the corridor to the right. Collect the Shells in the middle of the corridor and a 15 Health at the end. Kill the Fiend to your right, and the Fiend that jumps out of the window at the end of the corridor to your left. Collect the Biosuit to your right, then go up the stairs to your left to leave the hall of red brick. Turn left at the end and collect a 25 Health at the next end. Turn left again and collect the Quad Damage as the Floor below you drops and you fall into a pool of Slime. Turn around and head towards the Teleporter, which will take you to the right side of the last Elevator you used. Instead of using that Teleporter, turn right at the end and then right once more to reach another Teleporter, which leads you to the area above the window (#1). Drop from the window to return to the floor below the window. This time follow the corridor to the right to the end. Kill the Spawn and collect the Nails in the alcove to the right, then go up the stairs to the left. At the top turn right and kill the Death Knight that is patroling the corridor. Follow the corridor to an intersection, then kill the Fiend at the end of the corridor. Collect the Nails and 25 Health from the alcove on the right side. Go straight down the corridor, ignoring the corridor to the left for the time being, and collect the Shells and 25 Health at the end. Turn right and follow the corridor to an intersection with a 25 Health to collect. Collect the Nails, Shells, and 25 Health from the alcove to the right. Shoot the Button under the stairs, then quickly stand on them as the Stairs begin to rise; climb the stairs once they have risen to the top (#2). Go up the stairs of (#2) while killing the Shambler to the left, then shoot the close left wall to make it open and reveal Rockets (#3). Repeat for the opposite Wall (#4). Follow (#2) to the end, then shoot the right Wall to open it and access (#5). The slit above also allows you to throw Grenades and easily kill the Vore. Return to the stairs, and go down to the new bottom.
Turn right and go up the stairs. Once at the top, collect a 25 Health from the alcove to the right. Continue down the corridor and turn left at the end. Kill the Fiend and collect the Nails at the opposite end of the corridor. The doorway in the middle of the corridor to the right leads to the hall of red brick, so instead return to the corridor that you ignored earlier. Go up the stairs and kill the Death Knight patrolling the corridor from left to right. Collect the Shells in the alcove to your left, then follow the corridor to the right. Turn left at the intersection, as the right alcove does not contain anything. Climb the stairs and drop into the Water. Kill the 2 Rotfish, then turn around and press the Button to move a Wall in the hall of red brick. Swim to the opposite side of the room and collect the Quad Damage and 25 Health. Swim into theTeleporter to return to the staircase above the Water. Return to the hall of red brick and kill the Fiend on the alcove on the opposite side. On the left side of the alcove is a staircase allowing you to get up onto it (#6). Return to the staircase next to the Water over the window and shoot the Window overlooking the Water to move a Platform out so you may jump across. Follow the corridor to the end and turn left at the end. Kill the Vore and then continue up the corridor until you reach the next room. Collect the Silver Key from the middle of the room, then turn right and kill the Vore. Collect the Quad Damage from the alcove straight ahead. Collect the Pentagram of Protection from the alcove to your left and kill the Shambler that spawns when you collect it.
The doorway to the left from the entrance is Barred, and is the opposite end of the corridor from the Silver Door. Shoot the Window on the ceiling in the middle of the room, than dive into one of the pools of Water. Collect the Nails and kill the Zombie on each side, thus both adding up to 4. The short hallways leading to the middle contains two 25 Health and 2 Rockets. Shoot the Wall underneath the Pentagram of Protection platform to reveal an alcove with 2 Rockets (#7). Shoot the Window in the middle to open the Bars above. Also, shoot the Wall underneath the Quad Damage to reveal a Teleporter leading to an alcove overlooking (#2), where you may collect a 100 Health (#8) (#9). Return to the Silver Door and go through it. Follow the corridor to the end, then turn left into the next room. Go onto the Elevator, then turn around and kill the Vore. Collect the Cells on the alcove in front of you, the Quad Damage to your right, the 100 Health to your left, and the Rune behind you. Drop to the ground below from the Rune platform. The Teleporter behind you allows you to teleport back to the Elevator of the previous room if you have any need to return. Otherwise, exit via the Exit Gate in front of you.
Differences from Easy to Normal
- Shambler drops in starting room after moving forward.
- 4th Zombie under Water of star shaped Water room.
- Spawn at top of stairs of corridor just out of Water from star shaped Water room.
- Zombie spawns above Water next to straight Door of star shaped Water room after Zombies below Water are killed.
- Spawn beside Silver Door.
- 2nd Spawn at other end of corridor from Silver Door.
- Spawn beside right Button for Bar/Elevator combination.
- No Floorplate in corridor before Bar/Elevator combination, instead it triggers as the player approaches.
- Death Knight in right alcove of corridor before Bar/Elevator combination.
- Death Knight spawns when Button pressed in (#1).
- 2nd Death Knight patrols far side of the narrow platform.
- Vore patrols narrow platform.
- Spawn on near side of the narrow platform.
- Spawn in alcove behind staircase next to window over the Water.
- 3rd and 4th Rotfish in Water below the window.
- 2nd Spawn on platform overlooking (#6).
- Vore in front alcove of Silver Key room.
- 4 Rotfish in Water of Silver Key room.
- Vore spawns after both Windows are shot in Silver Key room.
- Vore on Door to Rune platform.
Differences from Normal to Hard/Nightmare
- Spawn in star shaped Water room.
- 2nd Spawn beside Silver Door
- 3rd Spawn at other end of corridor fromSilver Door
- 2nd Zombie spawns above star shaped body of Water in star shaped Water room after Zombies below Water are killed.
- 2nd Zombie spawns above closest body of Water to entrance in star shaped Water room after Zombies below Water are killed.
- 2nd Zombie spawns above Water next to straight Door of star shaped Water room after Zombies below Water are killed.
- 2nd Death Knight patrolling corridor just after left Door of star shaped Water room.
- Death Knight beside right Button for Bar/Elevator combination.
- Spawn in right alcove of corridor before Bar/Elevator combination.
- 2nd Fiend in window of (#1).
- 2nd Death Knight spawns when Button pressed in (#1)
- 2nd Spawn in right alcove of corridor below (#1).
- 2 Spawns on far side of the narrow platform.
- 2nd Death Knight patrolling corridor behind staircase next to window over the Water
- 2nd Spawn on near side of the narrow platform.
- 3 Spawns on alcove overlooking (#2), or (#8)/(#9).
- 2nd and 3rd Spawn in alcove behind staircase next to window over the Water
- Death Knight on platform across Water of window over the Water room.
- 2nd Fiend at (#6).
- 3rd Spawn on platform overlooking (#6)
- Vore on left platform before Rune room.
- Vore on right platform before Rune room.
Secrets
| Secrets | ||
|---|---|---|
| (#1) | 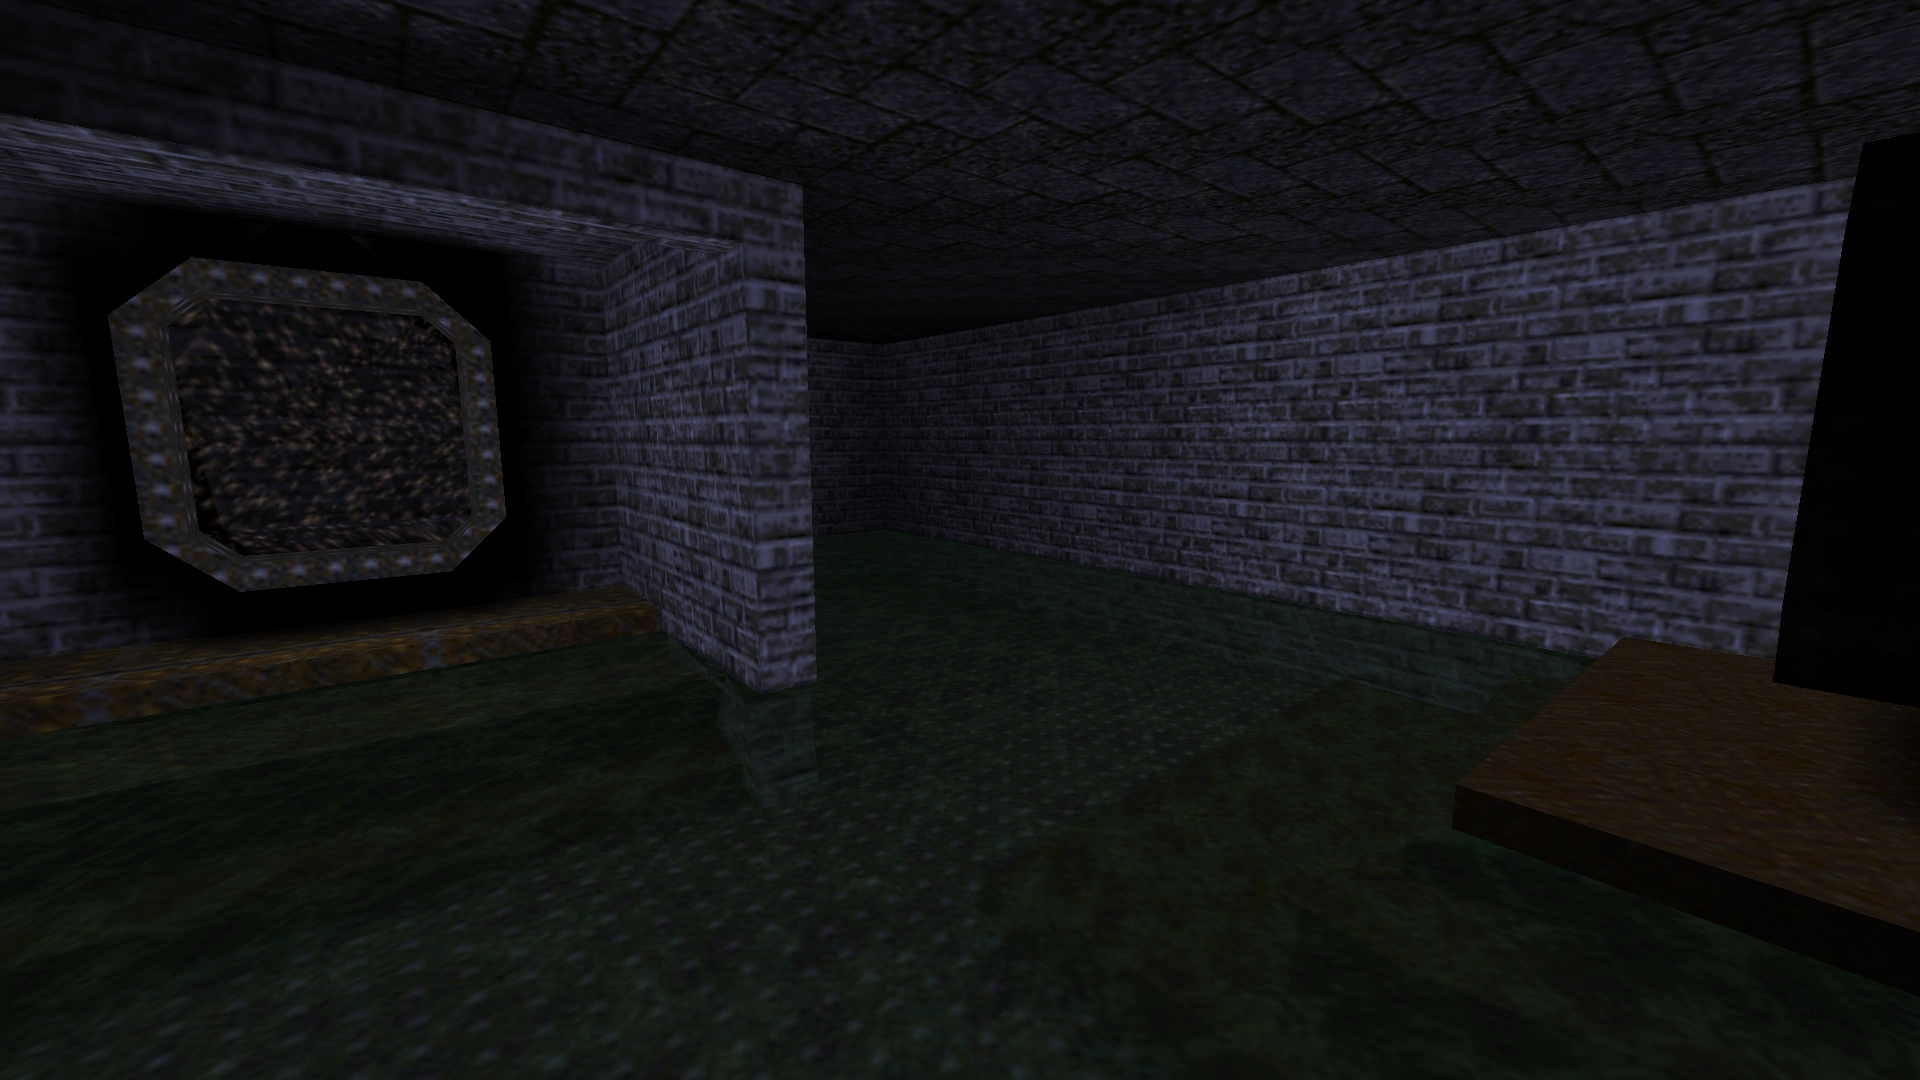 |
When in the Slime pool ignore the first Teleporter, and instead turn right twice at the end to find another Teleporter. Go straight ahead and push the Button on the right wall to open a Wall to the left. Collect the Nails, 2 Cells, and Rockets. Return to the center and turn left this time to collect the Red Armor beside the window, which will return you to the lower floor. |
| (#2) | 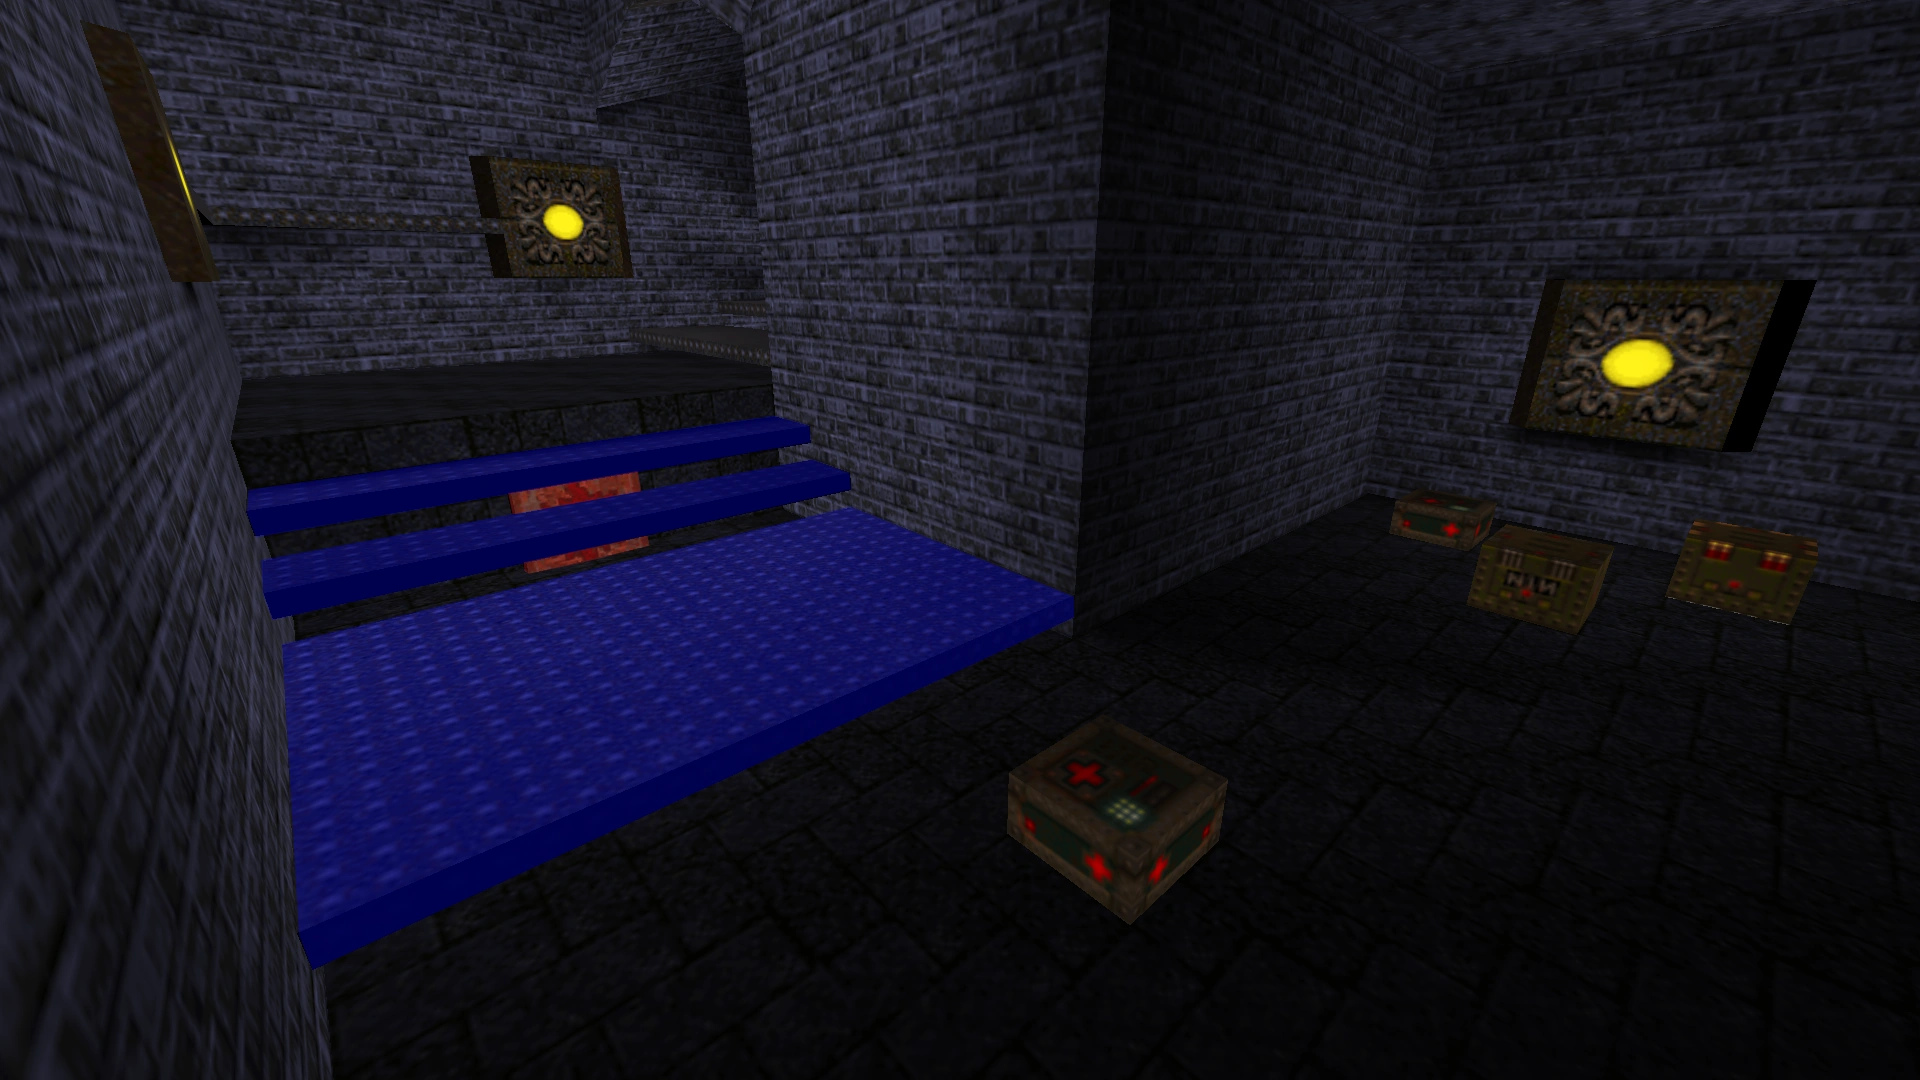 |
Shoot the Button under the right stairs from the front of the narrow platform to move the Stairs and gain entry to the narrow platform. Collect the Nails, Cells, and Rockets at the top, then turn left. Kill the Shambler that jumps down from a ledge at the opposite side of the narrow platform. Shoot the left Wall to collect Rockets in a small alcove (#3). Repeat for the opposite Wall (#4) Continue up the platform and collect the Shells, Ring of Shadows, and 25 Health on the opposite side. Shoot the right Wall to open it (#5). |
| (#3) |  |
When in (#2), shoot the close left Wall to collect Rockets in a small alcove. |
| (#4) | 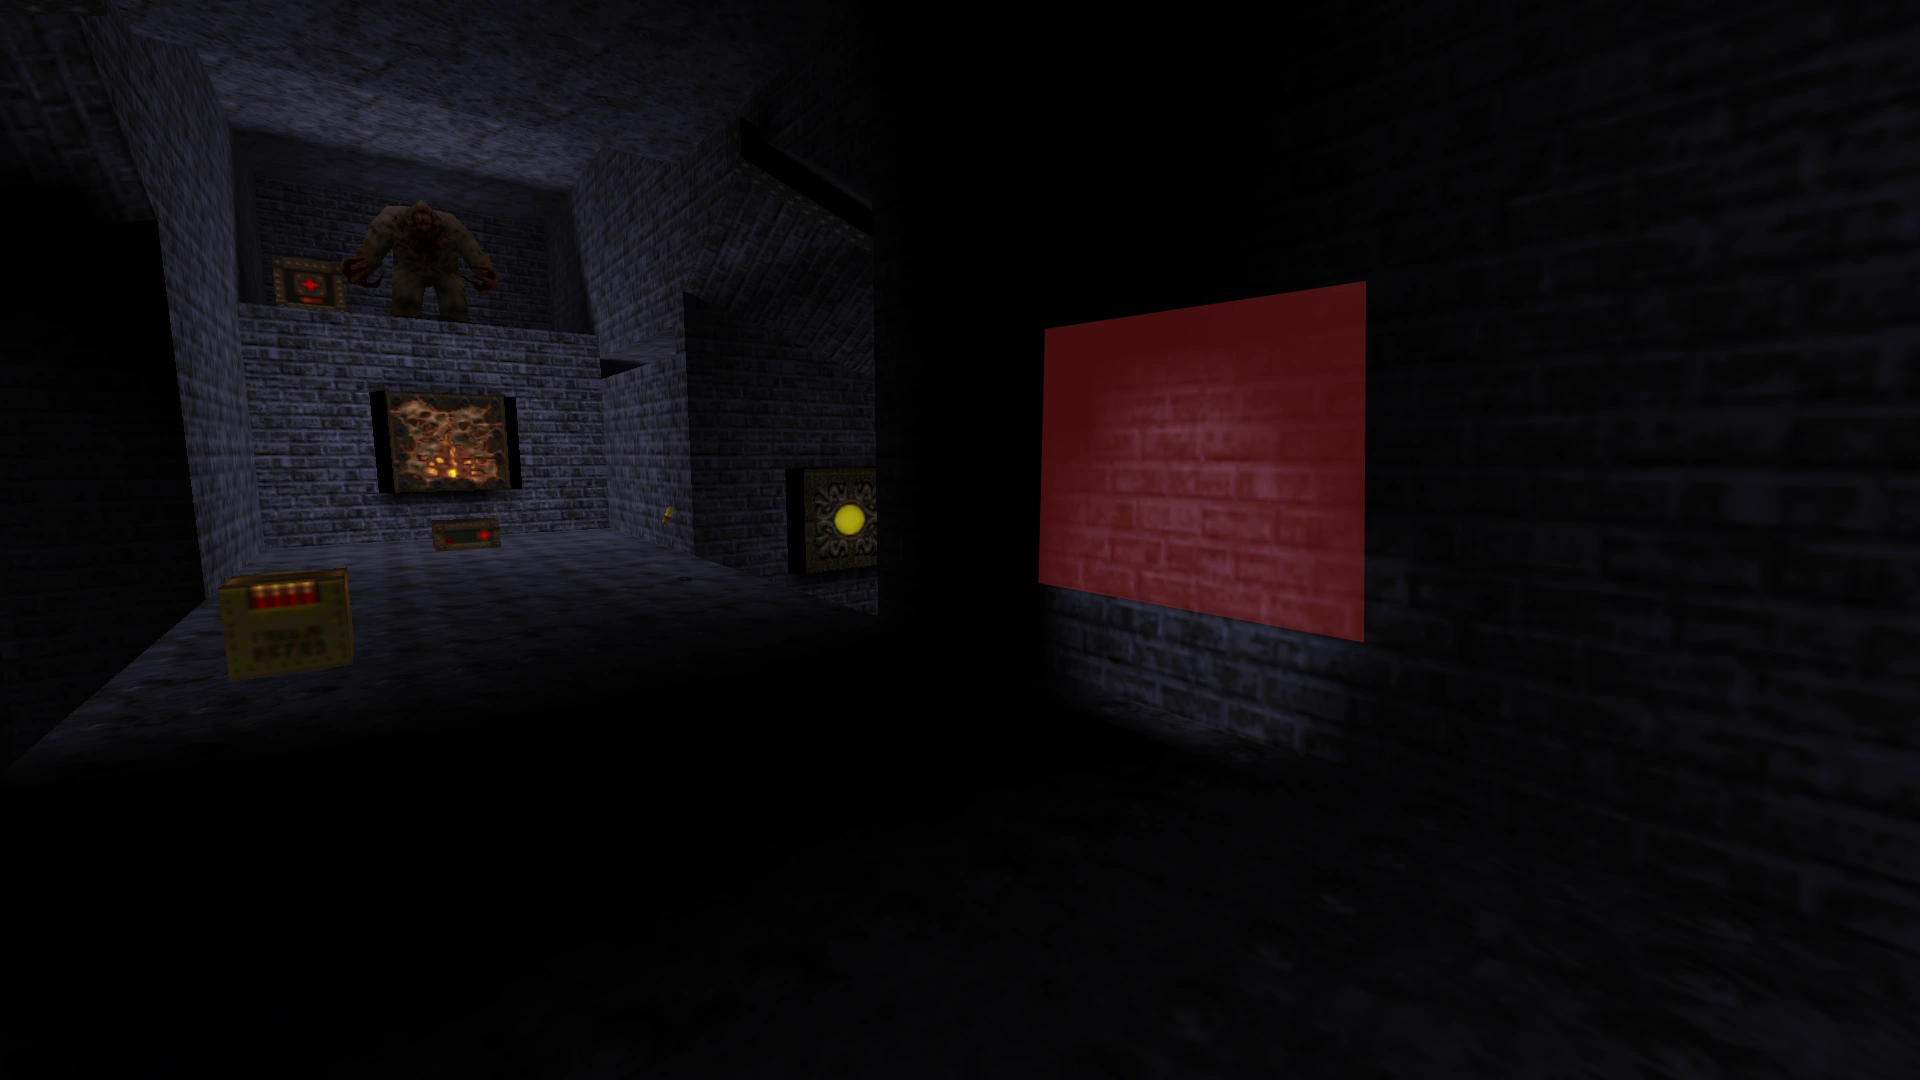 |
When in (#2), shoot the close right Wall to collect Rockets in a small alcove. |
| (#5) | 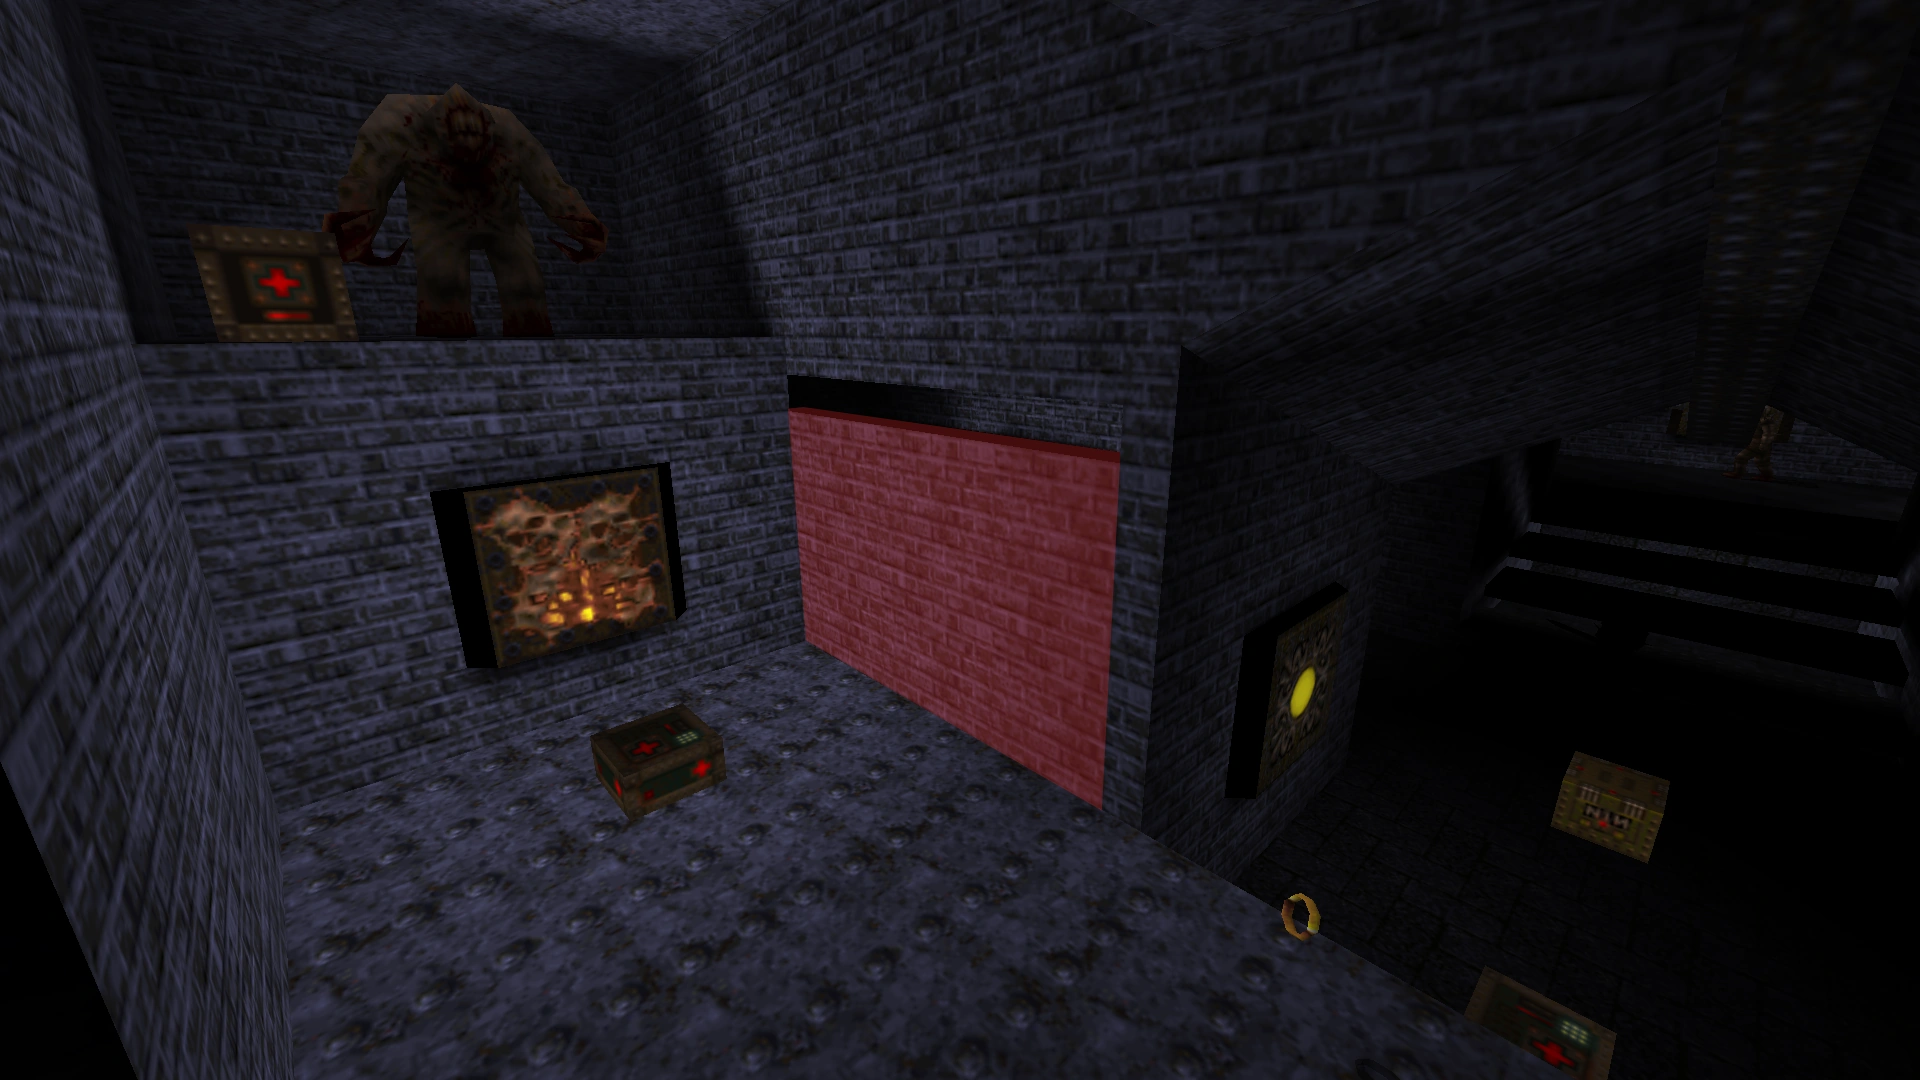 |
When in (#2), shoot the far right Wall to access another room. Kill the Vore and collect the Cells, 25 Health, and Quad Damage. |
| (#6) | 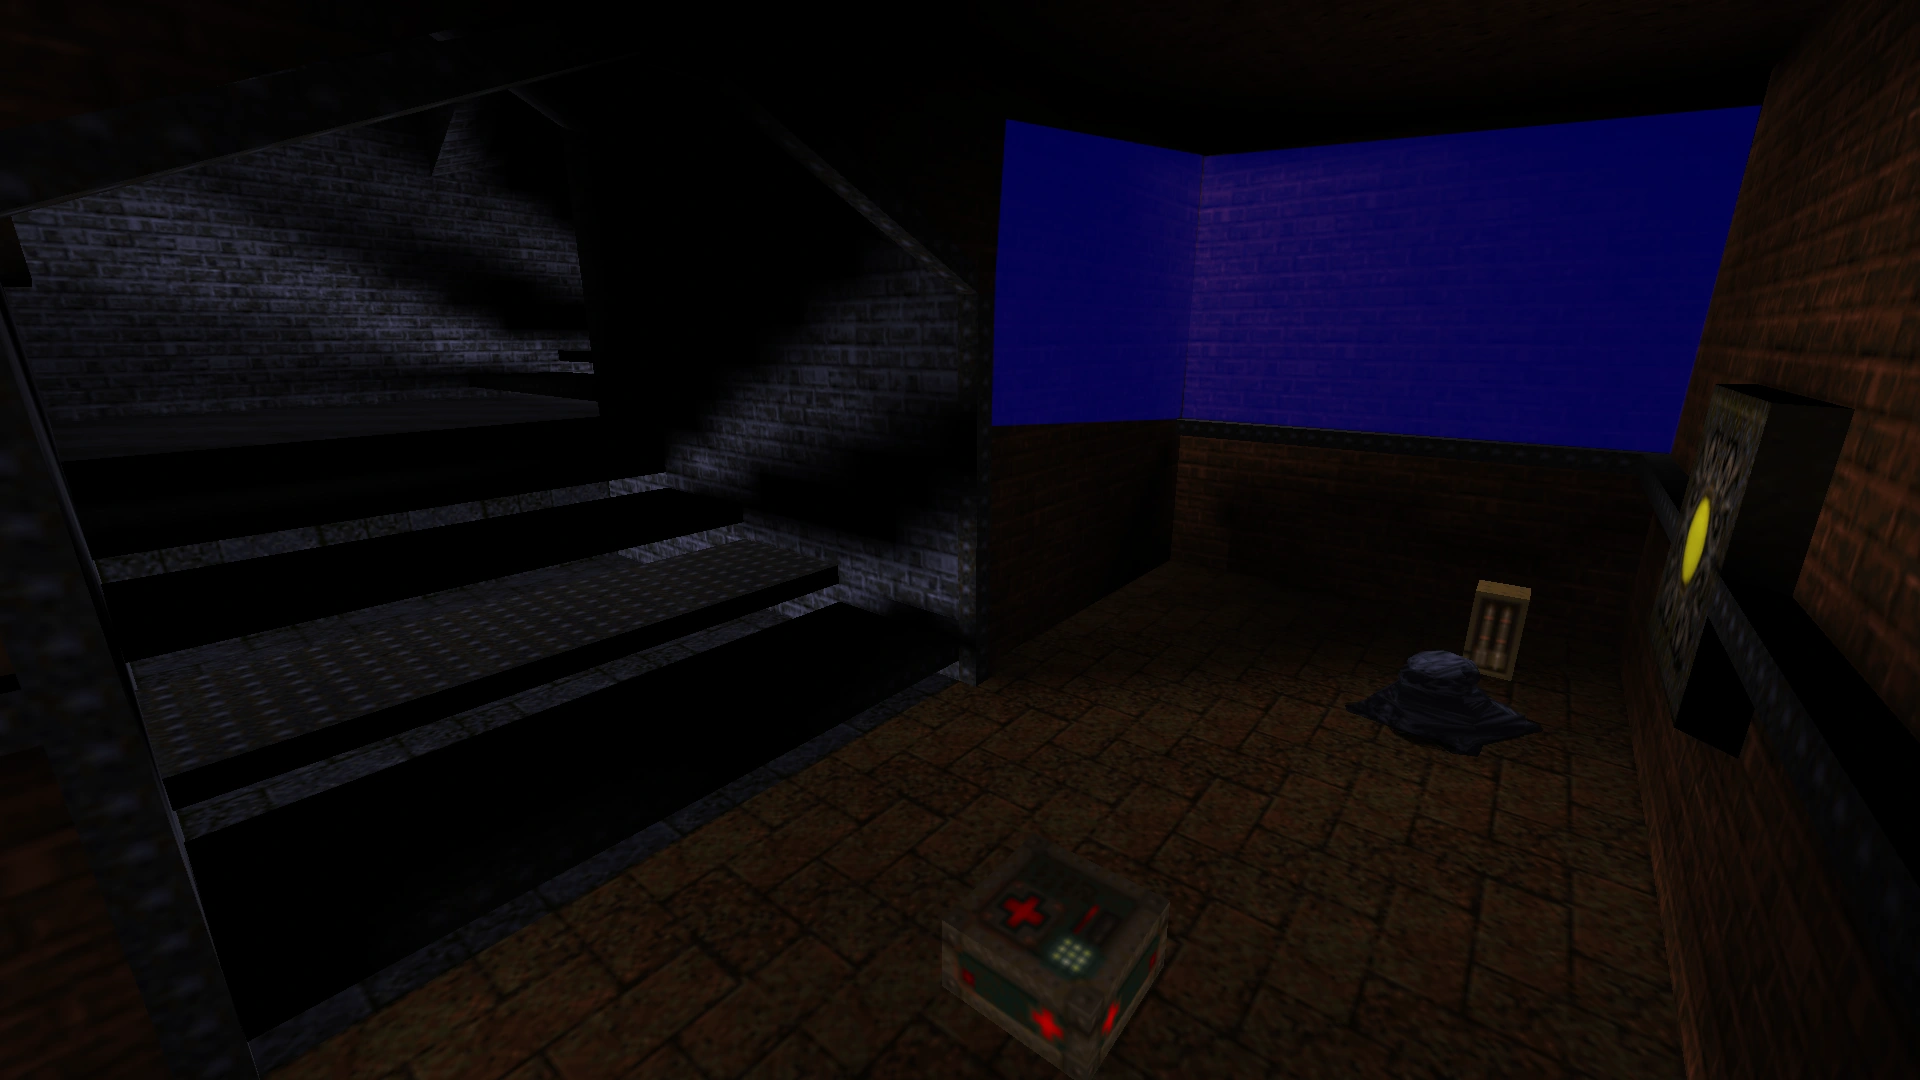 |
Press the Button in the Water below the window to move a Wall, then return to the hall of red brick to access the alcove to the left of the entrance. Kill the Fiend and climb the staircase to the left to get on the alcove. Kill the Spawn on the higher ledge, and collect the 2 Cells and Rockets. |
| (#7) | 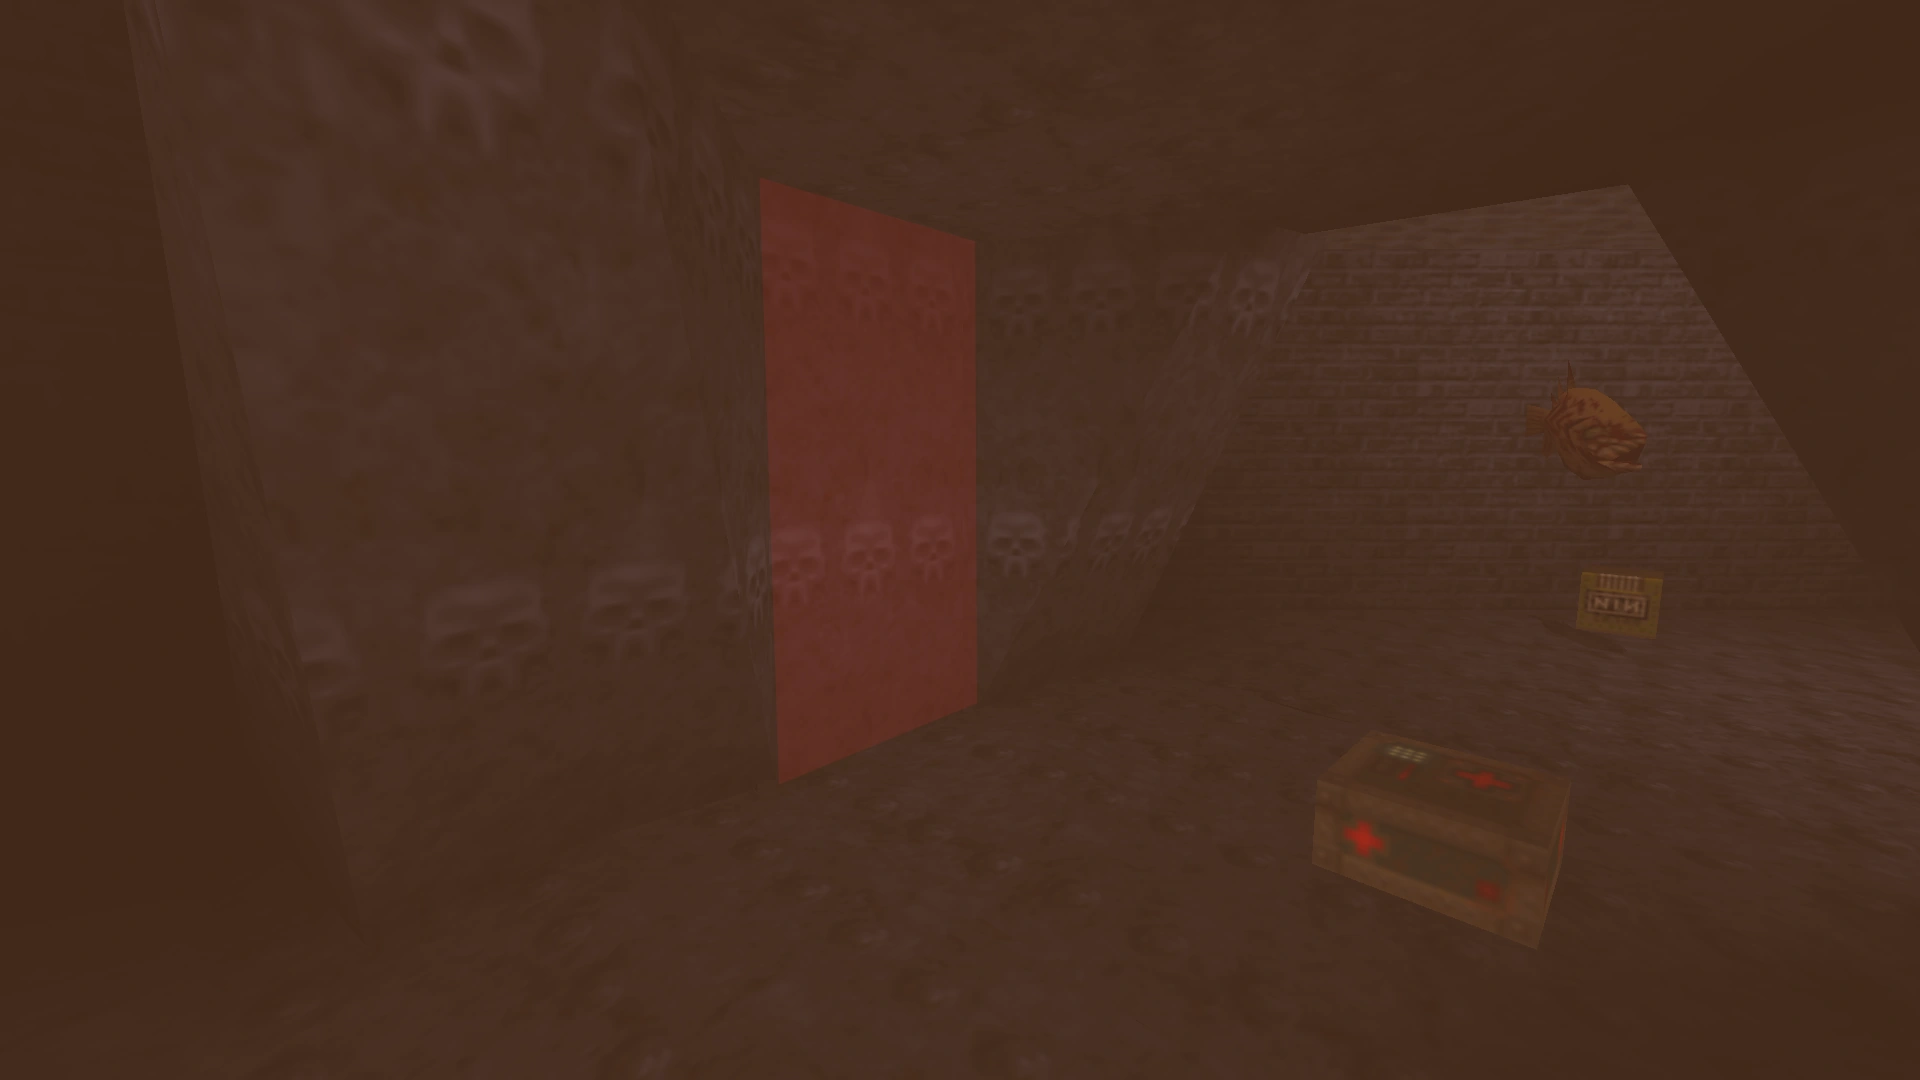 |
In the Water of the Silver Key room, shoot the Wall underneath the Pentagram of Protection to reveal an alcove with 2 Rockets. |
| (#8) |  |
In the Water of the Silver Key room, shoot the Wall underneath the Quad Damage to reveal a Teleporter. |
| (#9) |  |
Go through the Teleporter of (#8). Collect a 100 Health in the alcove overlooking (#2). |
Enemies
| Type | Count | Notes | ||
|---|---|---|---|---|
| Easy | Normal | Hard/Nightmare | ||
| Rotfish | 2 (4) | 8 (16) | 8 (16) | The vanilla engine counts each Rotfish as 2 enemies. |
| Zombie | 9 | 11 | 14 | |
| Spawn | 4 | 11 | 25 | |
| Death Knight | 4 | 7 | 12 | |
| Fiend | 6 | 6 | 8 | |
| Vore | 4 | 8 | 10 | |
| Shambler | 2 | 3 | 3 | |
| Total | 31 (33) | 54 (62) | 80 (88) | |
Episode Completion
| “ | Despite the awful might of the Elder World, you have achieved the Rune of Elder Magic, capstone of all types of arcane wisdom. Beyond good and evil, beyond life and death, the Rune pulsates, heavy with import. Patient and potent, the Elder Being Shub-Niggurath weaves her dire plans to clear off all life from the Earth, and bring her own foul offspring to our world! For all the dwellers in these nightmare dimensions are her descendants! Once all Runes of magic power are united, the energy behind them will blast open the Gateway to Shub-Niggurath, and you can travel there to foil the Hell-Mother's plots in person. | ” |
—Fourth Rune Collected | ||
| “ | Now, you have all four Runes. You sense tremendous invisible forces moving to unseal ancient barriers. Shub-Niggurath had hoped to use the Runes herself to clear off the Earth, but now instead, you will use them to enter her home and confront her as an avatar of avenging Earth-life. If you defeat her, you will be remembered forever as the savior of the planet. If she conquers, it will be as if you had never been born. | ” |
—All Runes Collected | ||
Deathmatch

E4M7 - Azure Agony (Deathmatch)
Differences
- Double-Barrelled Shotgun in entrance to star shaped Water room.
- Grenade Launcher under Water of star shaped Water room
- Bars between prior Silver Key and prior Silver Door rooms is gone.
- No left Button or Bars at prior Bar/Elevator combination.
- Nailgun in prior alcove of left Button for Bar/Elevator combination.
- Double-Barrelled Shotgun in alcove of right Button for prior Bar/Elevator combination.
- Floorplate in corridor before prior Bar/Elevator combination returns.
- Grenade Launcher before Elevator of prior Bar/Elevator combination.
- Rocket Launcher at (#1).
- Thunderbolt at (#2).
- Super Nailgun at staircase next to window over the Water
- Grenade Launcher in Water below the window.
- Double-Barrelled Shotgun in corridor between Water below the window and prior Silver Key room.
- Silver Key replaced by Thunderbolt.
- Nailgun at Button under Water in Silver Key room.
- 2 Buttons in Silver Key room opens Wall to (#8)/(#9).
- Rocket Launcher at (#8)/(#9)
- Super Nailgun on left platform before Rune room.
Spawn Locations
- Starting room
- Under Water of star shaped Water room
- Right platform before Rune room.
- Front alcove of prior Silver Key room.
- Right alcove of corridor before hall of red brick.
- End of hall of red brick
- Alcove behind staircase next to window over the Water
External Links
| E4M6: The Pain Maze | Quake Levels | Introduction |