![]()
The Sewage System is the first level of The Elder World. Almost entirely indoors, this level consists of numerous flooded tunnels and Water reservoirs, along with several walkways above the Water surface, hallways and rooms. Drowning is the greatest threat to the players, while they try to find their way through the submerged sewers. The starting room is an isolated safe area that players cannot return to once they leave.
This level brings back the Rottweiler, Grunt, and Enforcer. The player must search for the Gold Key in order to proceed. This level spends a lot of time under the Water while trying to unlock Flood Gates, Doors exclusive to this level by finding and pressing numerous Buttons.
Quick Level Completion
- Drop through the hole.
- Dive in the Water.
- Swim through the tunnel to the left.
- Take the Elevator to the top.
- Follow the corridor to the Gold Key.
- Follow the corridor to a Button.
- Drop to the Water and swim through the opened Flood Gate.
- Rise out of the Water at the dead end and press the Button on the left side.
- Swim until you reach the Slipgate.
Walkthrough
E4M1 - the Sewage System
Collect the Shells and Green Armor on the other side of the hole, then jump into the hole. When you hit the Water, turn right and kill the Grunt, and once more to kill another Grunt. On the land around the Water, collect the Biosuit and three 25 Health. Collect the Shells in the passageway that had no Grunt, but you cannot continue as the Flood Gate is closed. Take either of the two passageways that had a Grunt, they both lead to the same room. The right passageway has 2 Grunts. In the room at the end of either passageway is a pool of Water with a platform connecting both passageways with a 15 Health. Kill the 2 Grunts on the upper platform leading to the Gold Door accessible from the left. Use the Radioactive Container if you wish to kill them. Collect the two 25 Health and the Yellow Armor near the Gold Door. From here, drop into the Water below and collect the two 25 Health at the bottom. To the left is a locked Flood Gate, so head right. Before reaching the tunnel at the end, you should see another tunnel to the left. Head down that one to get to a platform below the ring Water room with two 25 Health. To the left is a locked Flood Gate, so head right. The tunnel of the previous room that you did not take also leads here. Follow the passageway to the end to an Elevator that raises you out of the Water. At the top, step off and turn right to Bars that will open. Collect a 15 Health and turn right to a Grunt. At the corner hit the Wall to open it to an alcove (#1). Collect a 25 Health between the 2 Laser Traps to the right, then drop to the right. Kill the Grunt and Rottweiler at the bottom, perhaps with the 2 Radioactive Containers. Collect the 2 Nails and 25 Health in the bottom left corner. Collect the Shells and two 25 Health by the barred tunnel. In the lower right corner is a hole you can drop into so you may return to the Elevator in the Water below. Return to the Laser Traps and cross the platform. At the end, collect a 25 Health to the right of the doorway and enter the next corridor. Turn right and kill the Grunt and Rottweiler, as well as the Enforcer that drops from the ceiling below after both die. Collect the Shells and turn right at the end to a small corridor with a 15 Health and 25 Health to the right. In the next ring room, collect a Nailgun, two 25 Health, Nails, and the Gold Key. Drop down to the Gold Door room below and open the Gold Door to a corridor with two 15 Health and a Grunt.
Turn right and at the end turn right once more to 2 Grunts, as well as another Grunt on a ledge to the left. As you start to head down the corridor the Wall behind you will open to 2 Rottweilers, two 25 Health, and Nails. At the opposite end of the corridor is a flashing light, run up the ramp and jump at the last second to hit the light with your head to open a wall to the left leading to the upper ledge (#2). Follow the corridor to the end and turn right to an Enforcer and 25 Health. Collect the Shells on the platform overlooking the Gold Door, then continue into the next room. You are now in a ring room overlooking the lower ring room. Kill the Grunt that spawned on the lower floor. Collect the Nails to the right and the Nails and two 25 Health to the left. Also to the left is a Button to open the Flood Gates. All the Flood Gates lead to the same room, so take any Flood Gate you wish. Eventually they meet up in a room under the Water with two 25 Health. Turn left into the next room, then swim to the surface as the Flood Gate at the bottom prevents any more progress. Turn right and go up the stairs onto dry land. Kill the Grunt that patrols this area. Ignore the stairs for a second and turn right to collect the 2 Nails. To the left is the Button to open the Flood Gate, as well as two 25 Health to collect. Return to the stairs and go up them, killing a Grunt and Enforcer at the top by the bars overlooking the Slipgate. Collect the Nails to the right, 25 Health to the left, and Biosuit in the middle. Shoot the Button above the entrance to this room to open a Wall by the Button that opened the Flood Gate (#3). Return to the Water and swim through the opened Flood Gate to the two 15 Health. Swim into the tunnel to the right to get to the next room, with the two 25 Health in the middle, and a Grunt that drops from the left. Swim to the left and rise to the surface to find an alcove (#4). At the opposite end of the room is a tunnel leading to the Slipgate room. Kill the Grunt in the room before exiting.
Differences from Easy to Normal
- No Green Armor at start
- No Biosuit, and only a 25 Health in first ring room
- Grunt by land Flood Gate
- No Yellow Armor by Gold Door
- Only Nails in corner of barred tunnel room
- 2nd Grunt in barred tunnel room
- Enforcer on platform by Laser Traps
- Enforcer at doorway of room after Laser Traps, when dead another Enforcer spawns behind the player
- Grunt in Gold Key room
- 3rd Rottweiler behind Wall of long corridor with three lights
- 2nd Grunt and Enforcer at alcove of (#2)
- Grunt at end of long corridor with three lights
- Grunt on platform overlooking Gold Door before Button to open Flood Gates
- 2 Enforcers spawn on lower floor when entering Button to open Flood Gates
- Enforcer by Button to open Flood Gates
- Grunt in corner by computers by Button to open Flood Gates
- Enforcer by stairs leading to platform to Button to open final Flood Gate
- Enforcer by Button to open final Flood Gate
- Enforcer by stairs leading to room overlooking the Slipgate
- 2nd Grunt in room overlooking the Slipgate
- 2nd Grunt drops in room before the Slipgate
- 2nd Grunt and Enforcer in Slipgate room
Differences from Normal to Hard/Nightmare
- Enforcer on left side of Gold Door room, standing on the Teleporter's teleport pad
- 3rd Grunt in barred tunnel room
- Barred tunnel unbarred, leads back to tunnel leading to Elevator in Water
- 2nd Enforcer on platform by Laser Traps
- Enforcer in doorway to Gold Key room
- Enforcer in Gold Key room
- Enforcer on new high alcove found right after gold doorway
- 4th and 5th Grunts in long corridor with three lights
- Enforcer replaces Grunt on platform overlooking Gold Door before Button to open Flood Gates
- Grunt in a ring room overlooking the lower ring room before Button to open Flood Gates
- Only a 25 Health in room after 3 Flood Gates
- No Enforcer by stairs leading to room overlooking the Slipgate
- Enforcer replaces 2nd Grunt that drops in room before the Slipgate
Secrets
| Secrets | ||
|---|---|---|
| (#1) |  |
Hit the Wall at the corner of the corridor before the Laser Traps. Collect the Quad Damage and Yellow Armor. |
| (#2) |  |
In the long corridor with three lights, jump as you run up the ramp at the end to hit the final light to open a Wall to the left. Collect the Quad Damage and a 100 Health by the window overlooking the previous room. |
| (#3) |  |
Shoot the Button at the entrance to the room overlooking the Slipgate to open a Wall by the Button in the previous room. Collect the Nails and go through the Teleporter to return to the Gold Door room. Kill the Grunt that has spawned in this room. |
| (#4) | 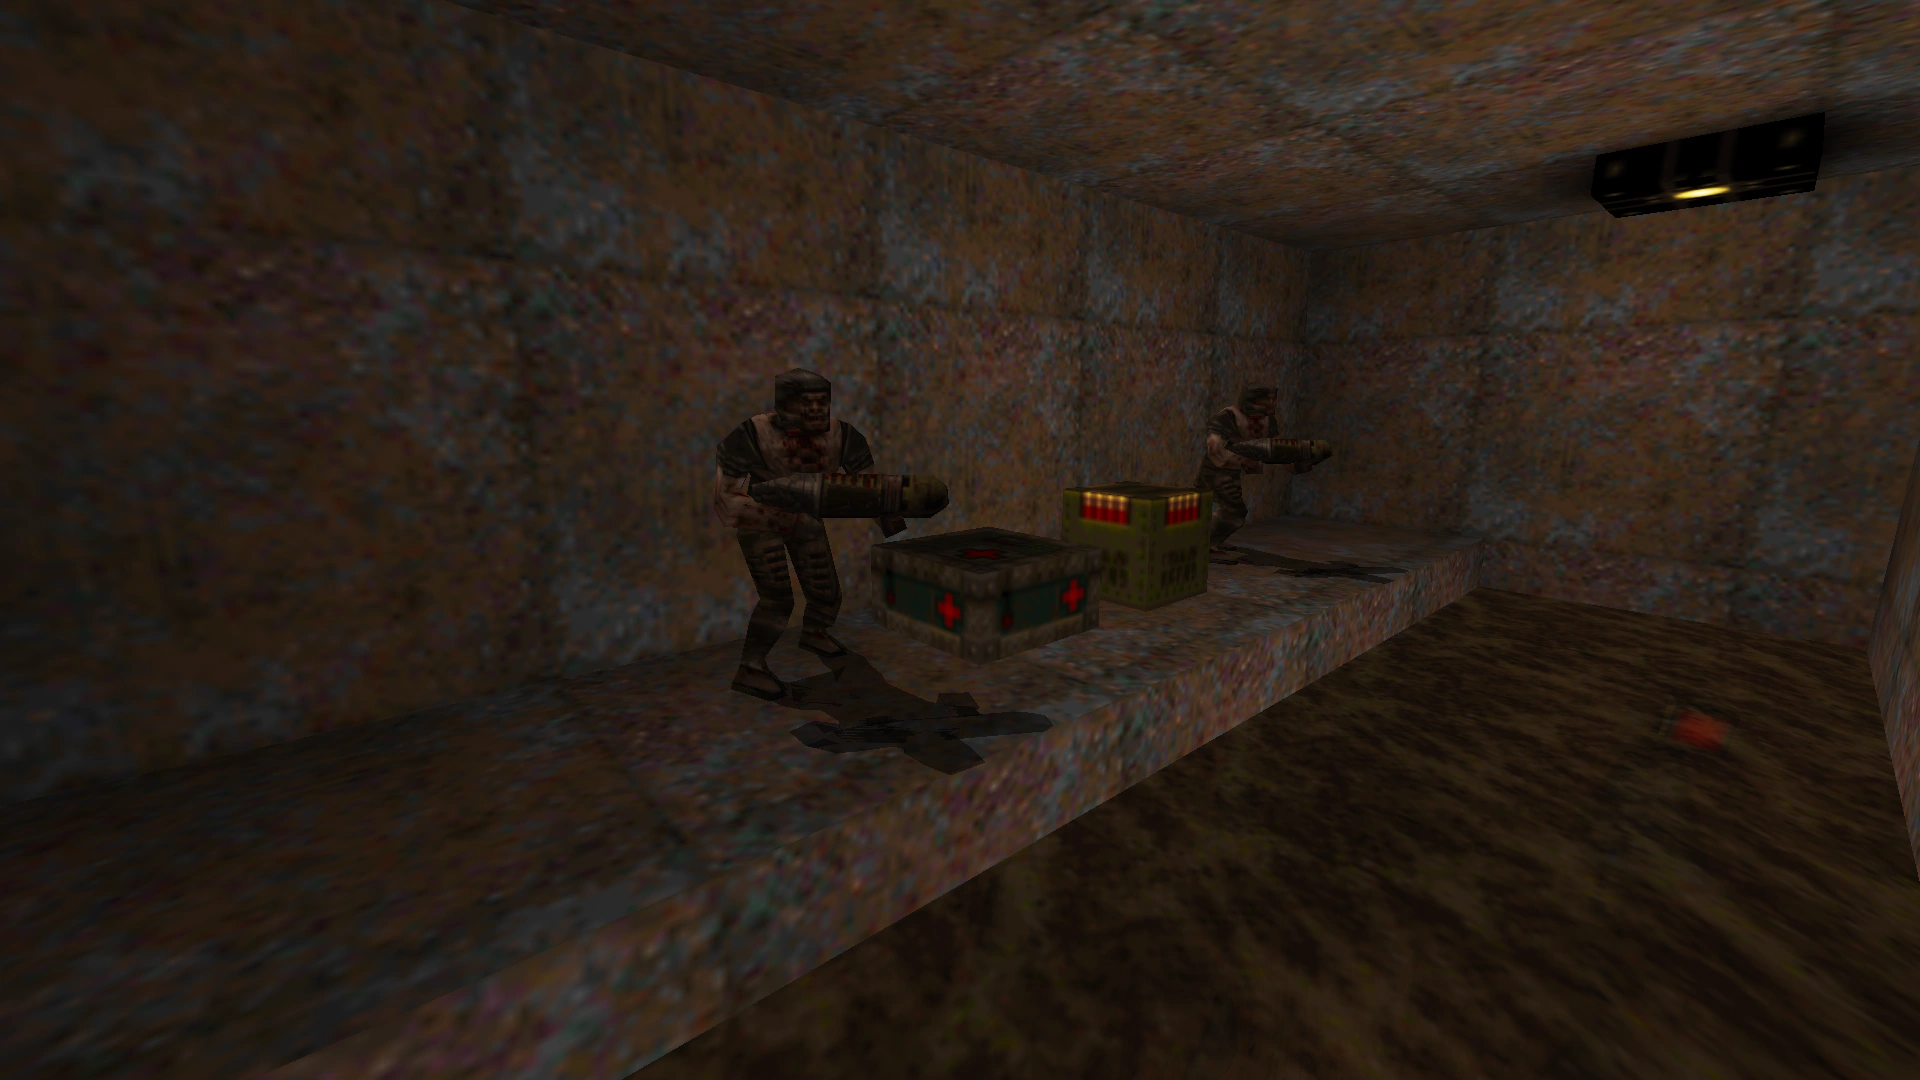 |
In the room before the Slipgate, swim to the left and rise to an alcove above. Collect a 15 Health and Shells. |
Enemies
| Type | Count | ||
|---|---|---|---|
| Easy | Normal | Hard/Nightmare | |
| Rottweiler | 4 | 5 | 5 |
| Grunt | 19 | 29 | 31 |
| Enforcer | 3 | 14 | 20 |
| Total | 26 | 48 | 56 |
Glitches
- The Gold Key can be accessed by blowing up the Radioactive Container while moving up the ramp to the Gold Door.
Deathmatch

E4M1 - the Sewage System (Deathmatch)
Differences
- Ring of Shadows in starting room
- 100 Health replaces the two 25 Health on platform under Water in first ring room
- Rockets by doorway to land Flood Gate
- Double-Barrelled Shotgun in barred tunnel room
- Nailgun at exit of Laser Trap room
- No 15 Health and 25 Health in corridor before Gold Key room
- Rocket Launcher replaces Nailgun in Gold Key room
- Super Nailgun behind Wall of long corridor with three lights
- Green Armor replaces 100 Health in (#2)
- Rockets replace Shells on platform overlooking Gold Door before Button to open Flood Gates
- Thunderbolt by Button to open Flood Gates
- Grenade Launcher on platform by Button to open final Flood Gate
- Pentagram of Protection replaces Biosuit in room overlooking the Slipgate
- Red Armor by the Slipgate
Spawn Locations
- Start
- By Button to open final Flood Gate
- Exit of Laser Trap room
- Long corridor with three lights
- Ring room with Button to open Flood Gates
- Room overlooking the Slipgate
- Ramp to Gold Door
External Links
| Introduction | Quake Levels | E4M2: The Tower of Despair |