![]()
Termination Central is the first level of The Netherworld. The level is almost entirely indoors, with only one small area under open sky. The level has many Buttons that have to be pressed in order to proceed forward. Another major feature is a large Slime reservoir, which extends under many of the main rooms. There also several stacks of computers in some of the corridors.
This level brings back the Rottweiler, Grunt, and Enforcer. The player must search for the Gold Key in order to proceed. This level serves also to give the player ammunition for the tougher levels up ahead which lack such ammo.
Quick Level Completion
- Follow the corridor to an Elevator.
- At the bottom, follow the corridor to an intersection.
- Take the right corridor and press a Button at the end.
- Return to the intersection and take the left corridor until you find another Button to push.
- The Wall to the left will move, follow the corridor past to the left to a room with ramps.
- Go up the ramps and follow the corridor to a large pillar in the middle of a room
- Go to the opposite side of the pillar and press the Button to open some doors to the left of the start.
- Go through an opened doorway and follow the corridor until you reach an Elevator.
- Turn left at the top and collect the Gold Key.
- Cross to the other side of the Elevator and follow the corridor to the Gold Door.
- Go through the Gold Door, and follow the corridor until you reach the exit room.
Walkthrough
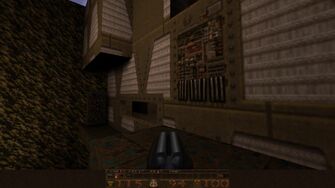
E3M1 - Termination Central
Collect a 15 Health in the upper left corner and turn right. Collect the Shells and Double-Barrelled Shotgun, and go down the Elevator to the right by pressing the Button. Turn right once more and kill the Grunt and Enforcer. Collect the Shells by the Elevator. The Elevator does not go up now, but later you may return to collect the Shells, 15 Health, and two 25 Health. Follow the passageway in the upper left corner of the lower part of the room. Collect the Green Armor and turn right, and then left, into the next corridor. At the intersection kill the Grunt and collect the Shells. Take the left passageway and kill the Grunt. The dark Wall to the right is shootable (#1). At the end collect the Nailgun, and to the right kill the Rottweiler and collect a 25 Health. Kill the Enforcer that patrols the bridge overlooking this area, and take the right passageway of the intersection. At the end press the Button and collect the Nails to the left. Return to the left passageway and kill the Enforcer just behind the previous end of the passageway, as well as collect a 25 Health and press the Button. This opens a Wall to the left that leads to the area near the Button on the right passageway. Kill the 2 Grunts and Rottweiler in the next room at the end of the passageway. Kill the Grunt on the balcony above. There are 3 Radioactive Containers, as well as two 25 Health to the left of the ramp. Straight ahead is a doorway, which after you can turn right into a dark area with a Grunt and Shells. Climb the ramp and collect a 25 Health to the left. If you drop into the Slime and go right you will find an Elevator leading back to the dark area below. Climb the stairs, collect the Yellow Armor, Shells, Nails, and kill the Grunt in the next doorway. Turn right at the end of the next hallway and collect the two 15 Health. Turn left and kill the Enforcer. Collect a 15 Health and turn left. Kill the Enforcer, Grunt, and Rottweiler in the next room. To the left are 2 Radioactive Containers, as well as a small hole that can be dropped to the floor below (#2). If you miss you will fall into the Slime below, just ride the Elevator to get to (#2). Straight by a pillar is a Quad Damage. To the right of the pillar are Rockets. Behind the pillar are Nails and a Button that opens Bars by the 2 Radioactive Containers. Drop into the Slime behind you and swim through a tunnel to get to another platform (#3). Kill the Enforcer behind the Bars. Turn left onto the platform with the Enforcer you killed earlier. If you drop into the Slime and follow it through a doorway, and take the left passageway, you shall get to an Elevator leading to the top of the room by the window looking to the 100 Health. Collect the Nails, 25 Health, and 2 Shells. Ignore the stairs to the right and continue to the Elevator. To the left before the Elevator is a small alcove which leads to a Quad Damage (#4). Go up the Elevator and go left to collect the Gold Key. To the left is the balcony with the Grunt you shot earlier, as well as a 25 Health and 15 Health. An Elevator opens on the bottom of the room with (#4) in case you fall.
Go to the right of the upper level of the Elevator to a computer room. Kill the Grunt to the right. Go around the computers and through the doorway to the right to a room with the Grunt and the gold doorway. This is where the ignored stairs would have brought you. The doorway to the left at the end of the computer room allows you to climb the computers. At the top shoot the Wall to the left (#5). Go through the Gold Door and follow the passageway. After the second turn to the right there is a Grunt and Enforcer. At the end of this long passageway are 2 Grunts. Continue into a computer archway room. Kill the Grunt to the right after the archway. Jump to the computers on the left before the archway. At the top collect the Shells and kill the Grunt in the small alcove to the left after the archway. Climb the computers again, and jump across the alcove to more computers with two 25 Health. Go through the doorway at the end of this room and kill the Grunt and Enforcer by the exit Slipgate. Collect the Shells behind the Slipgate.
Differences from Easy to Normal
- 2nd Grunt in window room
- Only a 25 Health on second floor of window room
- Grunt and Enforcer in right pasageway from first intersection
- 3rd and 4th Grunt, Enforcer and 2nd Rottweiler in room with 3 Radioactive Containers
- 2nd Grunt on balcony overlooking room with 3 Radioactive Containers
- No Shells and Nails by non-Secret Yellow Armor
- 2nd Grunt and Enforcer after room with non-Secret Yellow Armor
- 2nd and 3rd Grunt in pillar room
- Grunt on platform with Green Armor in (#2)
- 2nd Enforcer after Bars of pillar room
- 2nd Grunt and Enforcer in computer room before Gold Door
- Grunt by climbable computer in computer room before Gold Door
- Enforcer by Gold Door
- 2nd and 3rd Grunt and Rottweiler at first few turns after Gold Door
- Rottweiler, Enforcer, and 3rd Grunt at end of passageway after Gold Door
- Grunt to right of exit of computer archway room
- 2nd and 3rd Enforcer in final room
Differences from Normal to Hard/Nightmare
- Enforcer in starting room
- Rottweiler in window room
- Enforcer on second floor alcove of window room, and no 25 Health
- Rottweiler in right passageway from first intersection
- 5th Grunt and 2nd Enforcer in room with 3 Radioactive Containers
- Rottweiler after room with non-Secret Yellow Armor
- 2nd and 3rd Enforcer in pillar room
- Enforcer between the bridge and "ignored" stairs leading to the Gold Door room
- 2nd and 3rd Grunt in final room
Secrets
| Secrets | ||
|---|---|---|
| (#1) |  |
From the first intersection, go to the left and shoot the dark Wall on the right to get to a room with Red Armor. |
| (#2) |  |
In the pillar room, drop off to the ledge below on the left side. Collect a 25 Health, Rockets, and Yellow Armor. Ride the Elevator to get to rafters overlooking the room with the Quad Damage. Go on the rafter straight from the Elevator and drop onto a ledge with 2 Shells. |
| (#3) |  |
In the pillar room, drop off on the far side by the Button into the Slime, and swim through the tunnel to another platform. Collect the two 25 Health and go to the stairs. To the left is a 25 Health and Rockets, and to the right are Nails. Enter the Teleporter at the top of the stairs to get to a narrow platform overlooking Slime with Green Armor. Turn right and drop down to a room on the opposite side of the window in the room at the bottom of the Elevator from the start. Collect the 100 Health and go into the Teleporter to get back to the top with the Green Armor. Follow the platform back to the start to find another Teleporter leading to the start of the level. |
| (#4) |  |
Just before the Elevator to the Gold Key, go to the left onto an alcove, and follow it around to the left to an area with a Quad Damage. |
| (#5) | 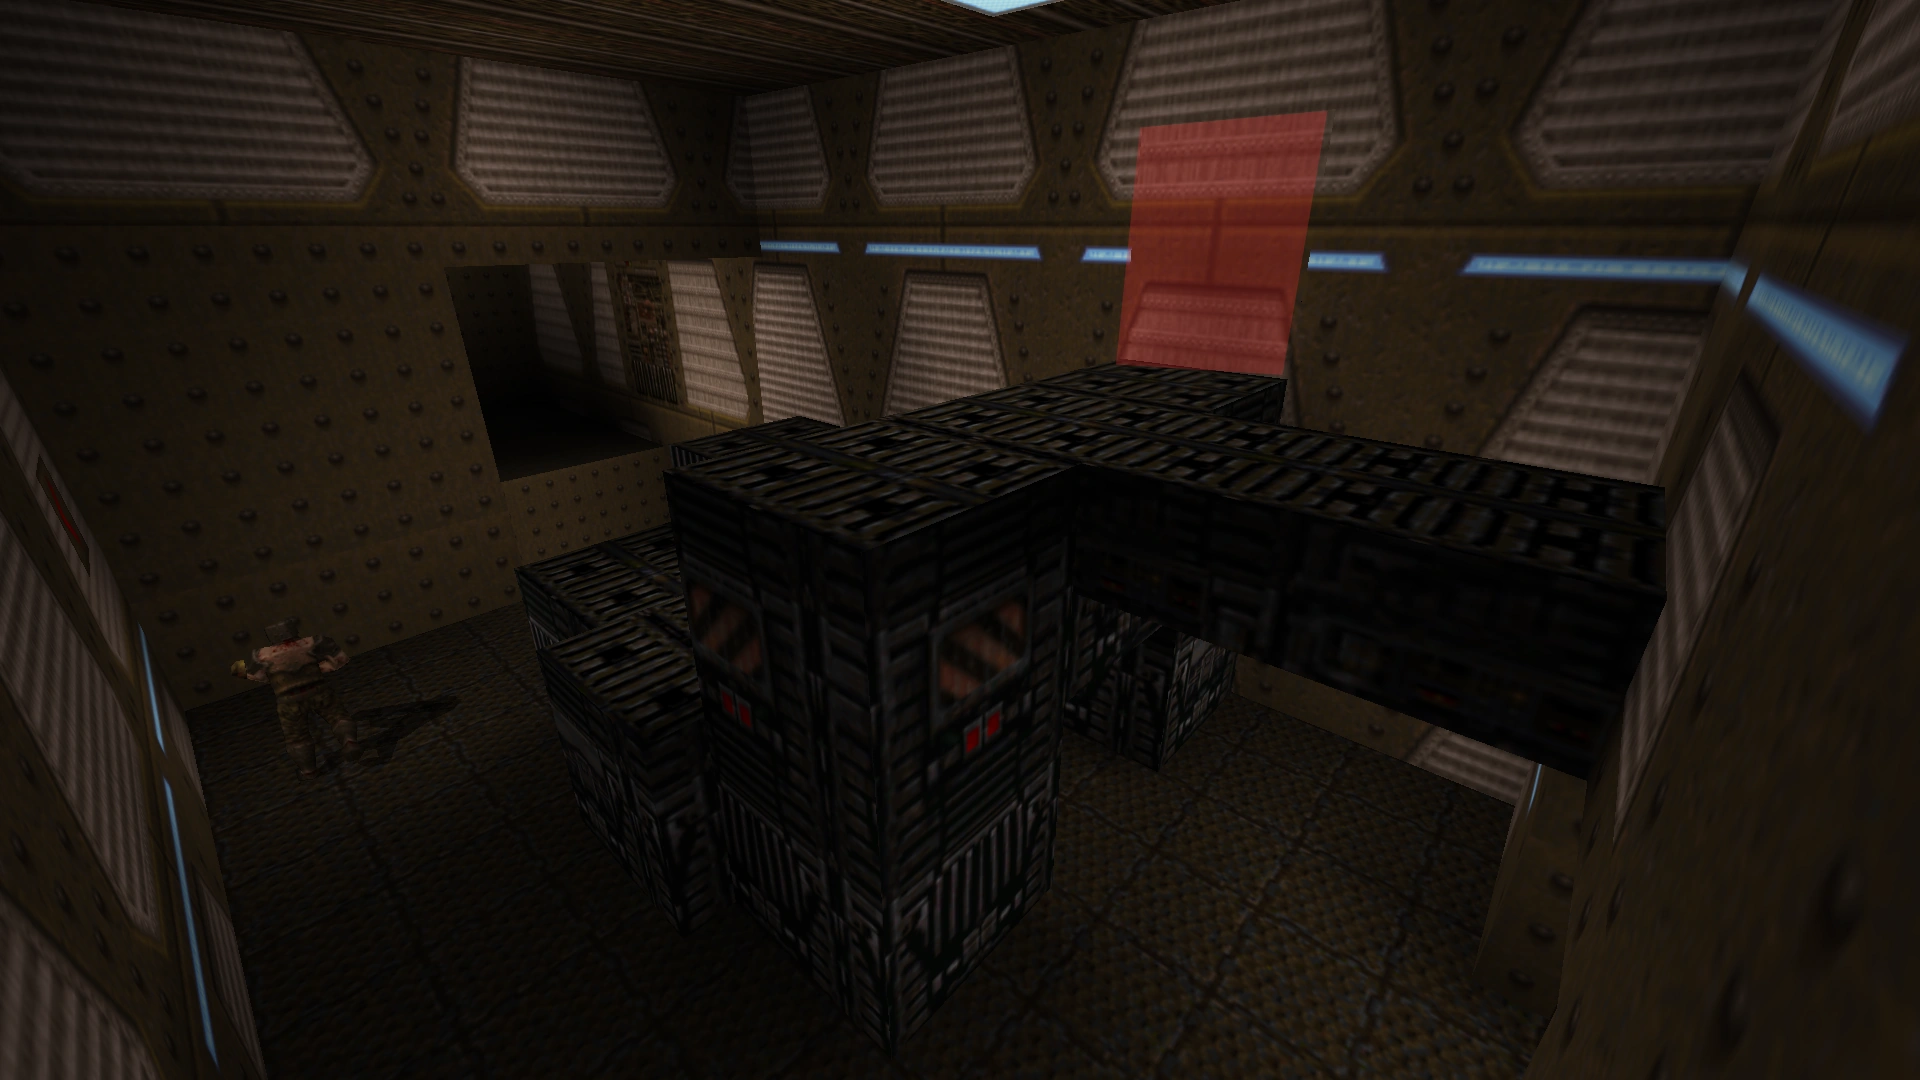 |
Climb to the top of the computer room before the Gold Door and shoot the Wall to the left to find a passageway to the right leading to an Elevator. At the top jump towards the way you came to get the 100 Health. Drop down from here to get to the room to the left of the Gold Key room. |
Enemies
| Type | Count | ||
|---|---|---|---|
| Easy | Normal | Hard/Nightmare | |
| Rottweiler | 3 | 6 | 9 |
| Grunt | 17 | 32 | 35 |
| Enforcer | 8 | 17 | 23 |
| Total | 28 | 55 | 67 |
Glitches
- When blowing one of the 3 Radioactive Containers, the blast radius can propel the player to the balcony with the Gold Key.
Deathmatch

E3M1 - Termination Central (Deathmatch)
Differences
- No Double-Barrelled Shotgun in starting room
- Wall opened behind second floor alcove of window room leading to corridor after gold doorway
- Nailgun moved slightly more towards where Button on left passageway would have been
- Rockets replace Shells in dark alcove by ramp
- Shells and Nails by non-Secret Yellow Armor return
- Double-Barrelled Shotgun on rafters of (#2)
- Super Nailgun and Grenade Launcher by Teleporter of (#3)
- On balcony overlooking (#1) are 2nd Nails
- Super Nailgun where Gold Key was
- Rocket Launcher on balcony overlooking room with 3 Radioactive Containers
- Thunderbolt by gold doorway
- Corridor in exit room leads back to pillar room
Spawn Locations
- (#3)
- Corridor after room with non-Secret Yellow Armor
- Balcony overlooking room with 3 Radioactive Containers
- By gold doorway
- Window room
External Links
| Introduction | Quake Levels | E3M2: The Vaults of Zin |